
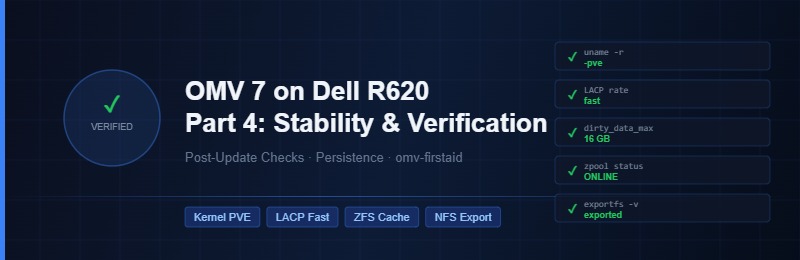
OMV updates are mostly painless, but a handful of our performance settings live outside the normal config system — they’re applied at runtime, not persisted natively by OMV. The LACP fast rate and the ZFS dirty data limit both fall into this category. After a kernel update or unattended reboot, you need a quick way to confirm everything is still running as expected. This part is that checklist.
Phase 1 — Quick Terminal Verification
Run these immediately after any reboot or system updateFive commands, five targets. If all five pass, the system is running at full performance. SSH in as root and run them in order:
| Component | Command | Target |
|---|---|---|
| Kernel | uname -r | Must end in -pve |
| LACP Rate | cat /proc/net/bonding/bond0 | grep rate | LACP rate: fast |
| Write Cache | cat /sys/module/zfs/parameters/zfs_dirty_data_max | 17179869184 (16 GB) |
| Pool Health | zpool status | state: ONLINE — all 10 disks |
| NFS Export | exportfs -v | /export/Datastore_NFS visible with no_root_squash |
1. Kernel Check
uname -r
# Expected: 6.17.x-pve (or whichever version you installed)
# If this shows a standard Debian kernel, the PVE kernel was not set as default
If the result doesn’t contain -pve, go back to System → Kernel in the OMV GUI, select the PVE kernel, set it as default, and reboot.
2. LACP Rate
cat /proc/net/bonding/bond0 | grep rate
# Expected: LACP rate: fast
# If this shows "slow", the MikroTik LACP handshake is degraded (30s timeout instead of 1s)
3. ZFS Write Buffer
cat /sys/module/zfs/parameters/zfs_dirty_data_max
# Expected: 17179869184  (16 GB)
# Default is 4294967296  (4 GB) — write spikes will be throttled if this reverted
4. Pool Health
zpool status
# Expected: state: ONLINE
# All 5 mirror pairs and 10 drives should show ONLINE with 0 errors
5. NFS Export
exportfs -v
# Expected output includes:
# /export/Datastore_NFS  10.10.0.0/16(rw,no_root_squash,no_subtree_check,insecure,...)
If the export is missing, go to Services → NFS in the OMV GUI and click Apply to re-export the share.
Phase 2 — Restoring Settings if They Reverted
Force LACP Fast Rate
If the bond shows LACP rate: slow, the scheduled task either didn’t run or the sleep delay wasn’t long enough for the bond to initialise before the rate was set. Restore it manually:
ip link set bond0 down && echo 1 > /sys/class/net/bond0/bonding/lacp_rate && ip link set bond0 upThen verify:
cat /proc/net/bonding/bond0 | grep rate
# Should now show: LACP rate: fast
Restore 16 GB Dirty Data Limit
If the result was 4294967296 (4 GB default), restore it immediately — large VM write spikes will hit the SAS disks instead of staying in RAM:
echo 17179869184 > /sys/module/zfs/parameters/zfs_dirty_data_max/etc/modprobe.d/zfs.conf entry we set in Part 2 applies this permanently after the next boot — if that file is missing, recreate it.Phase 3 — Ensuring Persistence via Scheduled Tasks
Settings that must survive every rebootBoth the LACP fast rate and the dirty data limit are runtime kernel parameters — they reset on every reboot. The scheduled tasks we set up in Part 2 handle this, but verify they’re still configured in System → Scheduled Tasks:
Task 1 — LACP Fast Rate
- Execution: At reboot
- User: root
- Command:
sleep 10 && ip link set bond0 down && echo 1 > /sys/class/net/bond0/bonding/lacp_rate && ip link set bond0 upsleep 10 is important. Without it, the bond may not be fully initialised when the command runs at boot, causing it to silently fail. Ten seconds gives the bond time to come up before we touch the LACP rate.Task 2 — ZFS Write Performance
- Execution: At reboot
- User: root
- Command:
echo 17179869184 > /sys/module/zfs/parameters/zfs_dirty_data_maxPhase 4 — Emergency Access via omv-firstaid
After a major OMV update, the web UI occasionally becomes inaccessible — login loops, “Access Denied” errors, or a blank page. This happens when the update changes internal session tokens or database schemas without clearing old state. The fix is omv-firstaid:
- SSH into the R620 as
root. - Run:
omv-firstaidA menu appears. The two useful options here:
- Option 4 — Reset failed login counter: Clears any account lockouts from repeated failed attempts.
- Option 3 — Change Workbench administrator password: Use this if the admin credentials are no longer accepted after an update.
omv-firstaid only affects the OMV web interface account, not your Linux root password. Your SSH access as root is unaffected.Final Health Indicator — ARC Hit Rate
Once everything checks out, look at the dashboard. The ZFS Hits/Misses widget is your single best indicator of whether the system is performing as intended:
- Hit rate near 100% — VMs are running almost entirely from the 384 GB RAM cache. Disk I/O is minimal. This is the target state.
- Misses increasing — the ARC is not serving the data and is falling back to the SAS drives. Common causes: pool is over 80% full, a VM workload has a working set larger than available ARC, or the ARC size was artificially capped.
Check live ARC stats at any time:
# Overall hit rate and cache size
arcstat

# Check current ARC size and max
cat /proc/spl/kstat/zfs/arcstats | grep -E "^(size|c_max|hits|misses)"
Next in this series
Part 5 — Lock the PVE Kernel →