
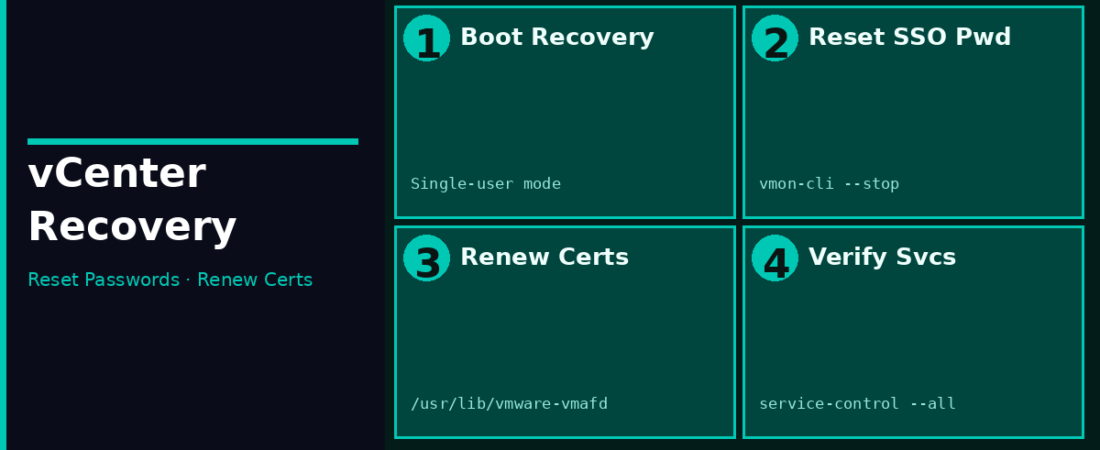
Every vCenter admin eventually hits one of these situations: a locked SSO account, an expired root password, certificates going red in the UI, or a VAMI update that needs to run. This post covers all three, password recovery, certificate renewal, and lifecycle updates, with the exact steps that actually work on vCenter Server 8.0.
Part 1: Recovering vCenter Passwords
There are two separate password contexts in VCSA: the root OS password (for SSH and the appliance shell) and the SSO administrator password (for the vSphere Client login). They’re completely independent, and each has its own recovery path.
Option 1 – Reset SSO Password via vdcadmintool
Fastest method if you still have SSH access. Connect via SSH as root, then:
# Launch the SSO admin tool
/usr/lib/vmware-vmdir/bin/vdcadmintool
In the interactive menu, choose Option 3: Reset account password. When prompted for the account UPN, type:
administrator@vsphere.localThe tool generates a new random password and displays it. Log into the vSphere Client with that password, then immediately change it via Administration → Single Sign On → Users and Groups.
Option 2 – Reset SSO Password via VAMI
If you know the root OS password but forgot the SSO administrator password, go to https://<vcenter-fqdn>:5480. Log in as root. Navigate to Administration → SSO Configuration to change the SSO administrator password directly without SSH.
Option 3 – Unlock a Locked SSO Account
If the account is locked due to too many failed attempts, the error says “User account is locked.” SSH into the VCSA as root and run:
# Unlock via faillock (vCenter 8.0 U2+ on Photon OS 4)
/usr/sbin/faillock --user administrator@vsphere.local --reset
Note: On older VCSA versions (pre-8.0 U2), the command was pam_tally2. That utility was deprecated in Photon OS 4, which ships with vCenter 8.0 U2 and later. Use faillock on any 8.0 U2+ appliance.
Option 4 – Reset Root Password via GRUB Boot Recovery
If you’re completely locked out (no root, no SSO), boot-time recovery is the last resort:
- Open the VCSA VM console in vSphere Client
- Reboot the appliance
- When GRUB appears, press e to edit the boot entry
- Find the line starting with
linuxand addrw init=/bin/bashat the end - Press Ctrl+X to boot
- At the bash prompt:
passwd root, set a new password - Run
umount /then reboot
This causes brief downtime (the appliance reboots) but works even when completely locked out.
Part 2: Certificate Management
vCenter uses VMCA (VMware Certificate Authority) to issue certificates for its services. VMCA-issued certificates expire every two years by default. vCenter 8.0 Update 3 shows differentiated alarms for each certificate store, making it easier to identify which certificate needs attention.
Check Certificate Status
# List machine SSL certificate expiry
/usr/lib/vmware-vmafd/bin/vecs-cli entry list --store MACHINE_SSL_CERT_SSL_CERT --text | grep -A2 "Not After"

# Check all certificate stores
for store in MACHINE_SSL_CERT TRUSTED_ROOTS machine solution_user; do
  echo "=== $store ==="
  /usr/lib/vmware-vmafd/bin/vecs-cli entry list --store $store --text 2>/dev/null | grep "Not After"
done
Renew Certificates Using Certificate Manager
/usr/lib/vmware-vmca/bin/certificate-managerChoose Option 4: Regenerate a new VMCA Root Certificate and replace all certificates. This generates a new VMCA root, issues new machine SSL, solution user, and STS certificates, and replaces them automatically. Services restart during this process, plan for about 15–20 minutes of downtime.
If you only need to renew the machine SSL certificate without replacing the VMCA root, use Option 3 in certificate-manager.
Custom CA-Signed Certificates
If your organisation requires certificates from an enterprise CA (Microsoft CA, DigiCert, etc.): generate a CSR from certificate-manager (Option 1), have your CA sign it, then import the signed cert using Option 2. This makes VMCA a subordinate CA of your enterprise CA, the recommended approach for production environments where certificate chain validation matters.
Part 3: vCenter Lifecycle Updates (VAMI)
Via VAMI (Simpler)
- Take a snapshot of the VCSA VM first, this is your rollback option
- Go to
https://<vcenter-fqdn>:5480and log in as root - Navigate to Update → Check Updates
- If an update is available, click Stage and Install
- Accept the EULA and let it run
VAMI patches download from Broadcom’s update repository by default. For VCSA without internet access, configure an internal update repository or use ISO-based updates.
Via vSphere Lifecycle Manager (vLCM)
In the vSphere Client, go to Menu → Lifecycle Manager. Under vCenter Server, use Update Planner to check interoperability of the target update with your ESXi versions before committing. Important: don’t patch vCenter to a version ahead of your ESXi hosts until you’ve confirmed support.
Key Operational Notes
- Always snapshot before patching. VCSA updates are not reversible without a snapshot or backup
- Update sequence, vCenter must be updated before ESXi hosts in the same release cycle
- vLCM certificate issue. If vCenter Lifecycle Manager fails to load latest certificates after non-disruptive certificate renewal, restart it:
service-control --restart vmware-vpxd-svcs - Root password expiry. Root password in VCSA expires every 90 days by default. Change the policy under VAMI → Administration → Password Expiration Settings
Post-Update Verification
# Check vCenter version from SSH
vpxd -v

# Check all services are running
service-control --status --all | grep -v stopped

# Verify VECS certificate stores are intact
/usr/lib/vmware-vmafd/bin/vecs-cli store list
If any services show as stopped after an update, start them individually with service-control --start <service-name>.