
A vCenter with no backup is one bad upgrade away from a rebuild. Now that TrueNAS has a proper storage VLAN and NFS shares, my management vCenter backs itself up there every night.
This is the built-in file-based backup: vCenter exports its configuration, inventory and (optionally) stats, events and tasks to a remote location. No agent, no licence, and it is what the restore option in the vCenter installer expects.
Setting up the schedule
The vCenter appliance management page (port 5480) → Backup → Backup Schedule → Configure:
| Field | Value |
|---|---|
| Backup location | nfs://192.168.48.100/mnt/tank/vcenter-backup |
| Backup server credentials | Required by the form even for NFS. NFS ignores them, so any value works. I used nfs / nfs |
| Schedule | Daily, 01:00 A.M. |
| Encrypt backup | Set a password and store it in your password manager. No password, no restore |
| Retain | Last 7 |
| Data | Stats, Events and Tasks ticked; Supervisors Control Plane only if you run it |
Three things tripped me up here:
- Browser autofill. Chrome pasted the NFS path into the User name field and a saved password into Password, leaving Backup location empty. Check every field before you click Create.
- Credentials are mandatory. With them empty, Backup Now refuses to start (This field is required), even after ticking Use backup location and user name from backup schedule. Put the same dummy values in the schedule, or the nightly run fails the same way.
- The schedule is in UTC. The appliance runs on UTC, and VMware recommends leaving it there. NTP keeps the clock right; the timezone only changes how times are shown. 01:00 UTC is 02:00 in a UK summer.
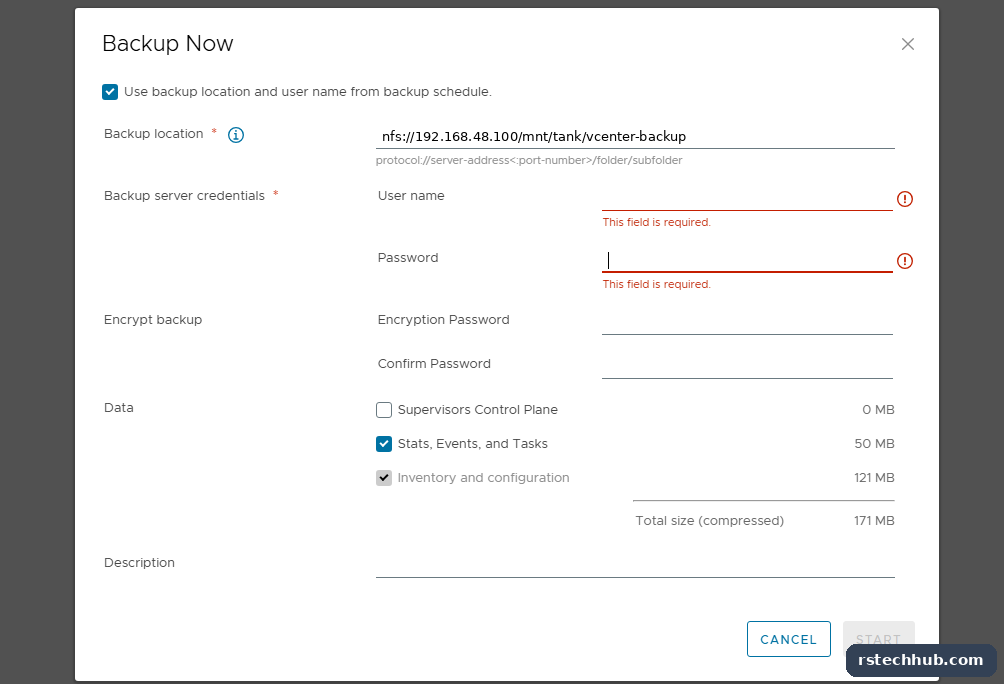
The vCenter reaches TrueNAS from the management VLAN through the router, which is why the vcenter-backup share allows the management subnet. For a few hundred MB a night, that is fine.
Backup Now, first run:
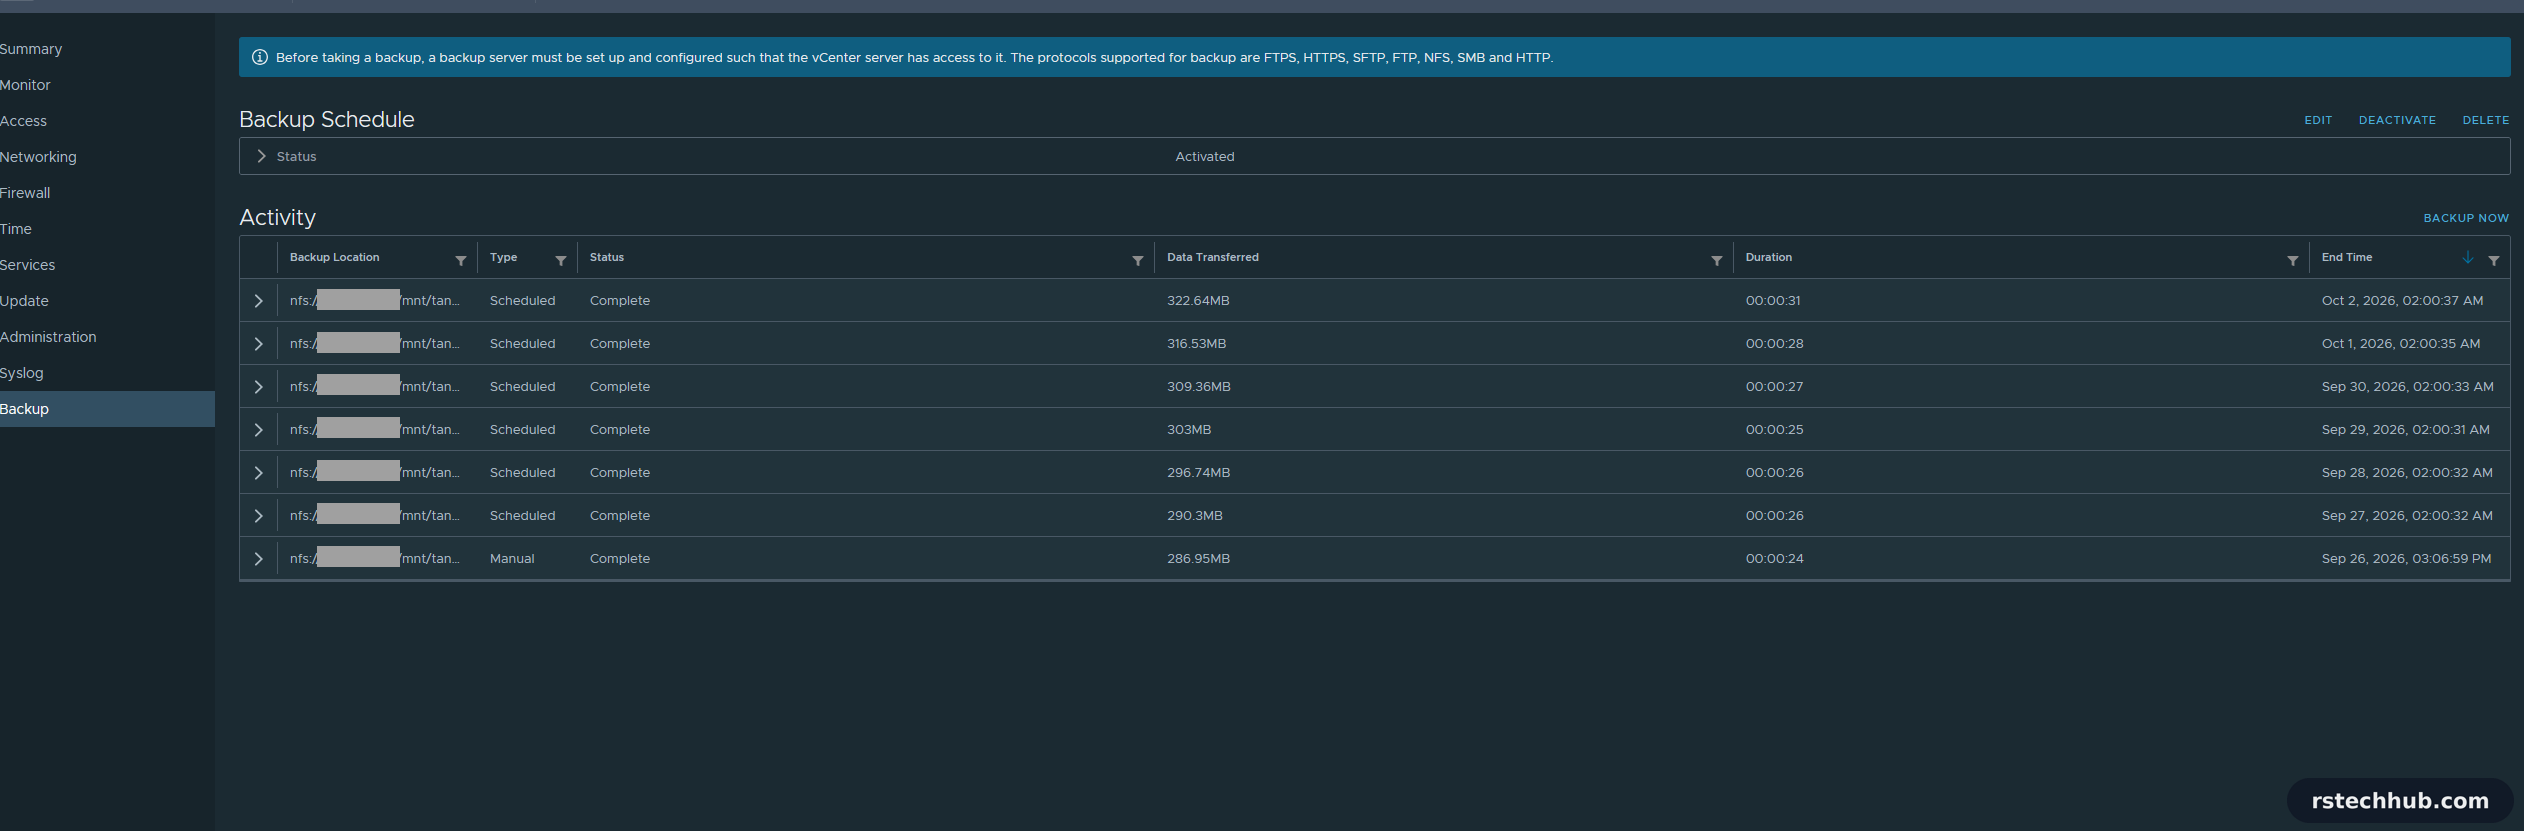
nfs://192.168.48.100/mnt/tank/vcenter-backup/vCenter/sn_vcmgmt.lab.internal/M_8.0.3.00800_20260926-140635_
Manual   Complete   286.95 MB   00:00:24
287 MB in 24 seconds. Each run lands in its own timestamped folder under the vCenter name, and vCenter prunes to the last seven on its own.
The restore test
A note on versions. This management vCenter is still on 8.0 U3, which is old next to the VCF 9.x stack the rest of the lab runs. I tested the restore on it anyway. The file-based backup and the two-stage restore work the same way in vCenter 9, and I wanted the whole process written down before I need it in a hurry.
A backup you have never restored is a hope. So I deployed a new appliance from the installer, restored last night’s backup into it, checked it, and then decided which vCenter to keep. The original VM stayed on disk the whole time. Rolling back would have meant powering one VM off and the other on.
Taking vCenter down sounds worse than it is. The domain controllers, DNS, TrueNAS and Veeam keep running, and every ESXi host still has its own Host Client at https://<host>/ui. What you lose for an hour is the vSphere Client and anything that talks to vCenter.
What you need
- The installer ISO with the exact same build. VAMI → Summary showed 8.0.3.00800, build 25197330, so I needed
VMware-VCSA-all-8.0.3-25197330.iso. A different build will not restore. - The backup folder. In VAMI → Backup, expand a run to see its full path. Scheduled runs start with
S_, manual ones withM_. - The backup encryption password. Without it the backup is useless.
- Root on an ESXi host. I deployed straight to the host, since vCenter is the thing being restored.
- Room on the host. Tiny needs 14 GB of RAM. The wizard quotes 579 GB of disk, but with thin disks it starts at about 30 GB.

Stage 1: deploy the appliance
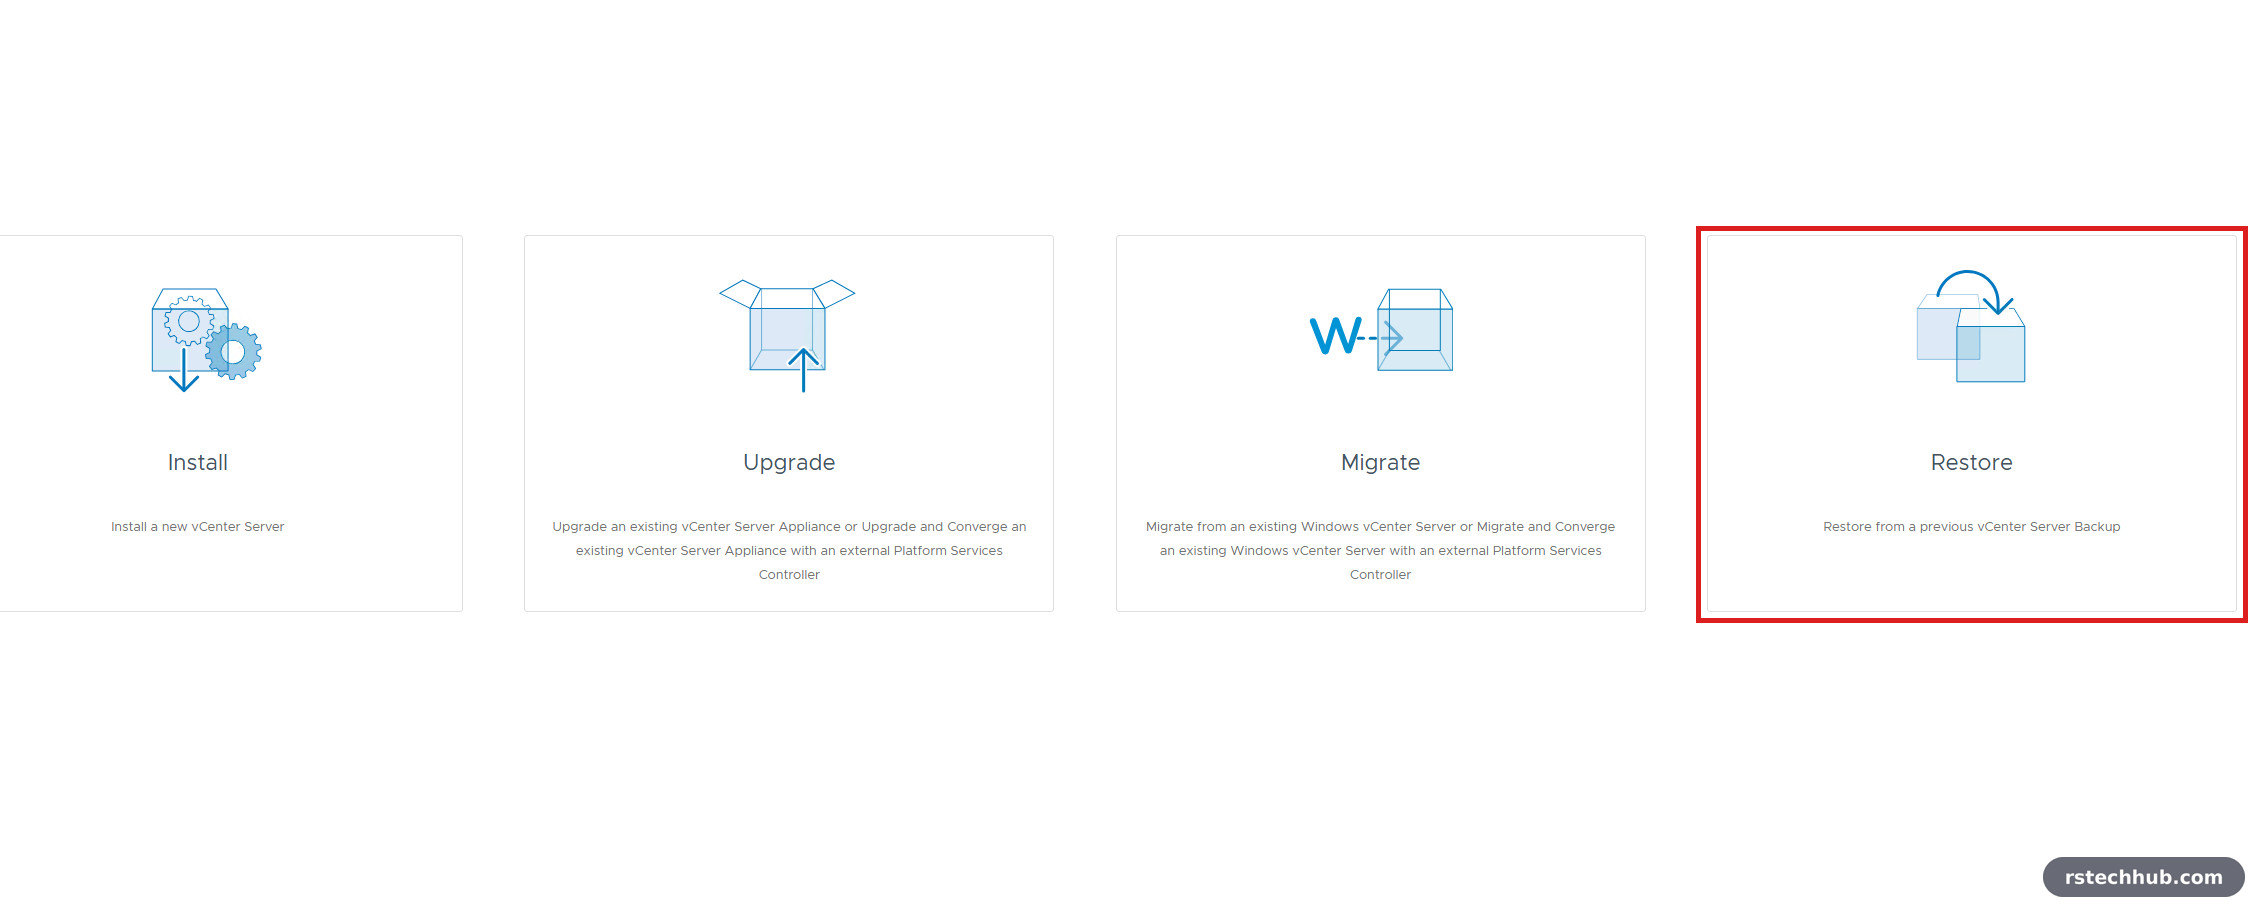
Mount the ISO and run vcsa-ui-installer\win32\installer.exe, then choose Restore.
| Page | Value |
|---|---|
| Backup location | nfs://192.168.48.100/mnt/tank/vcenter-backup/vCenter/sn_vcmgmt.lab.internal/S_8.0.3.00800_20261002-010007_ |
| User name / password | nfs / nfs (NFS ignores them, the form does not) |
| Deployment target | the ESXi host, port 443, root |
| VM name | vcmgmt-restore |
| Deployment size | Tiny, Default storage (pre-selected from the backup) |
| Datastore | local SSD VMFS, Enable Thin Disk Mode ticked |
| Network | management port group, the original FQDN and IP |
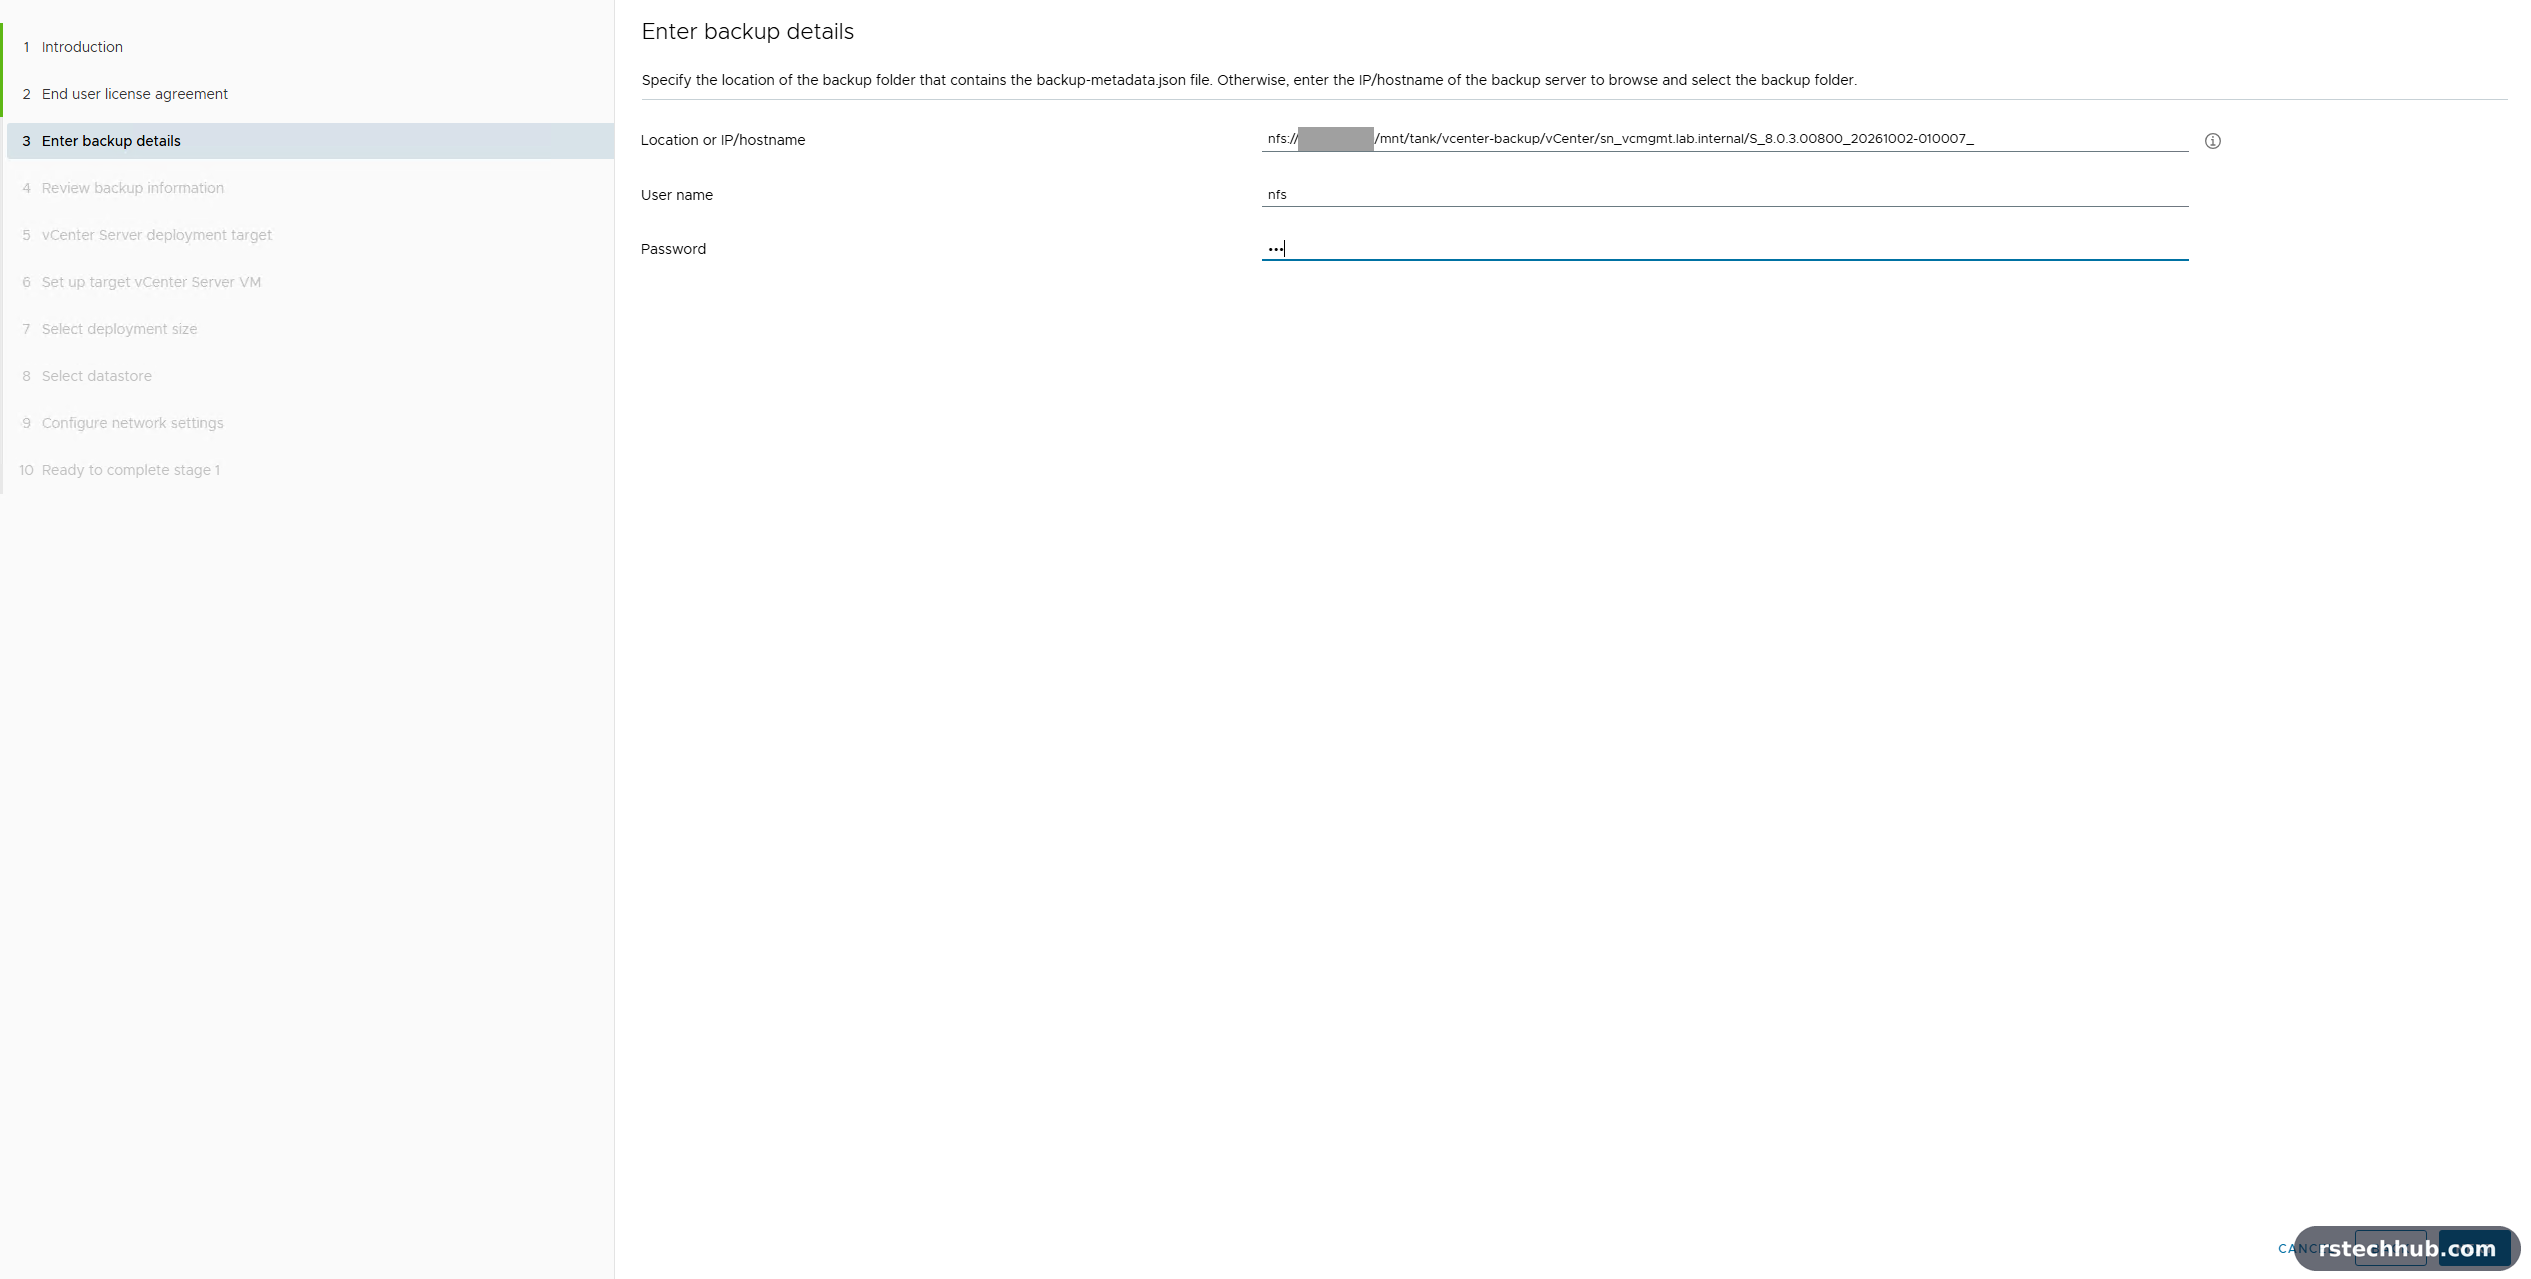
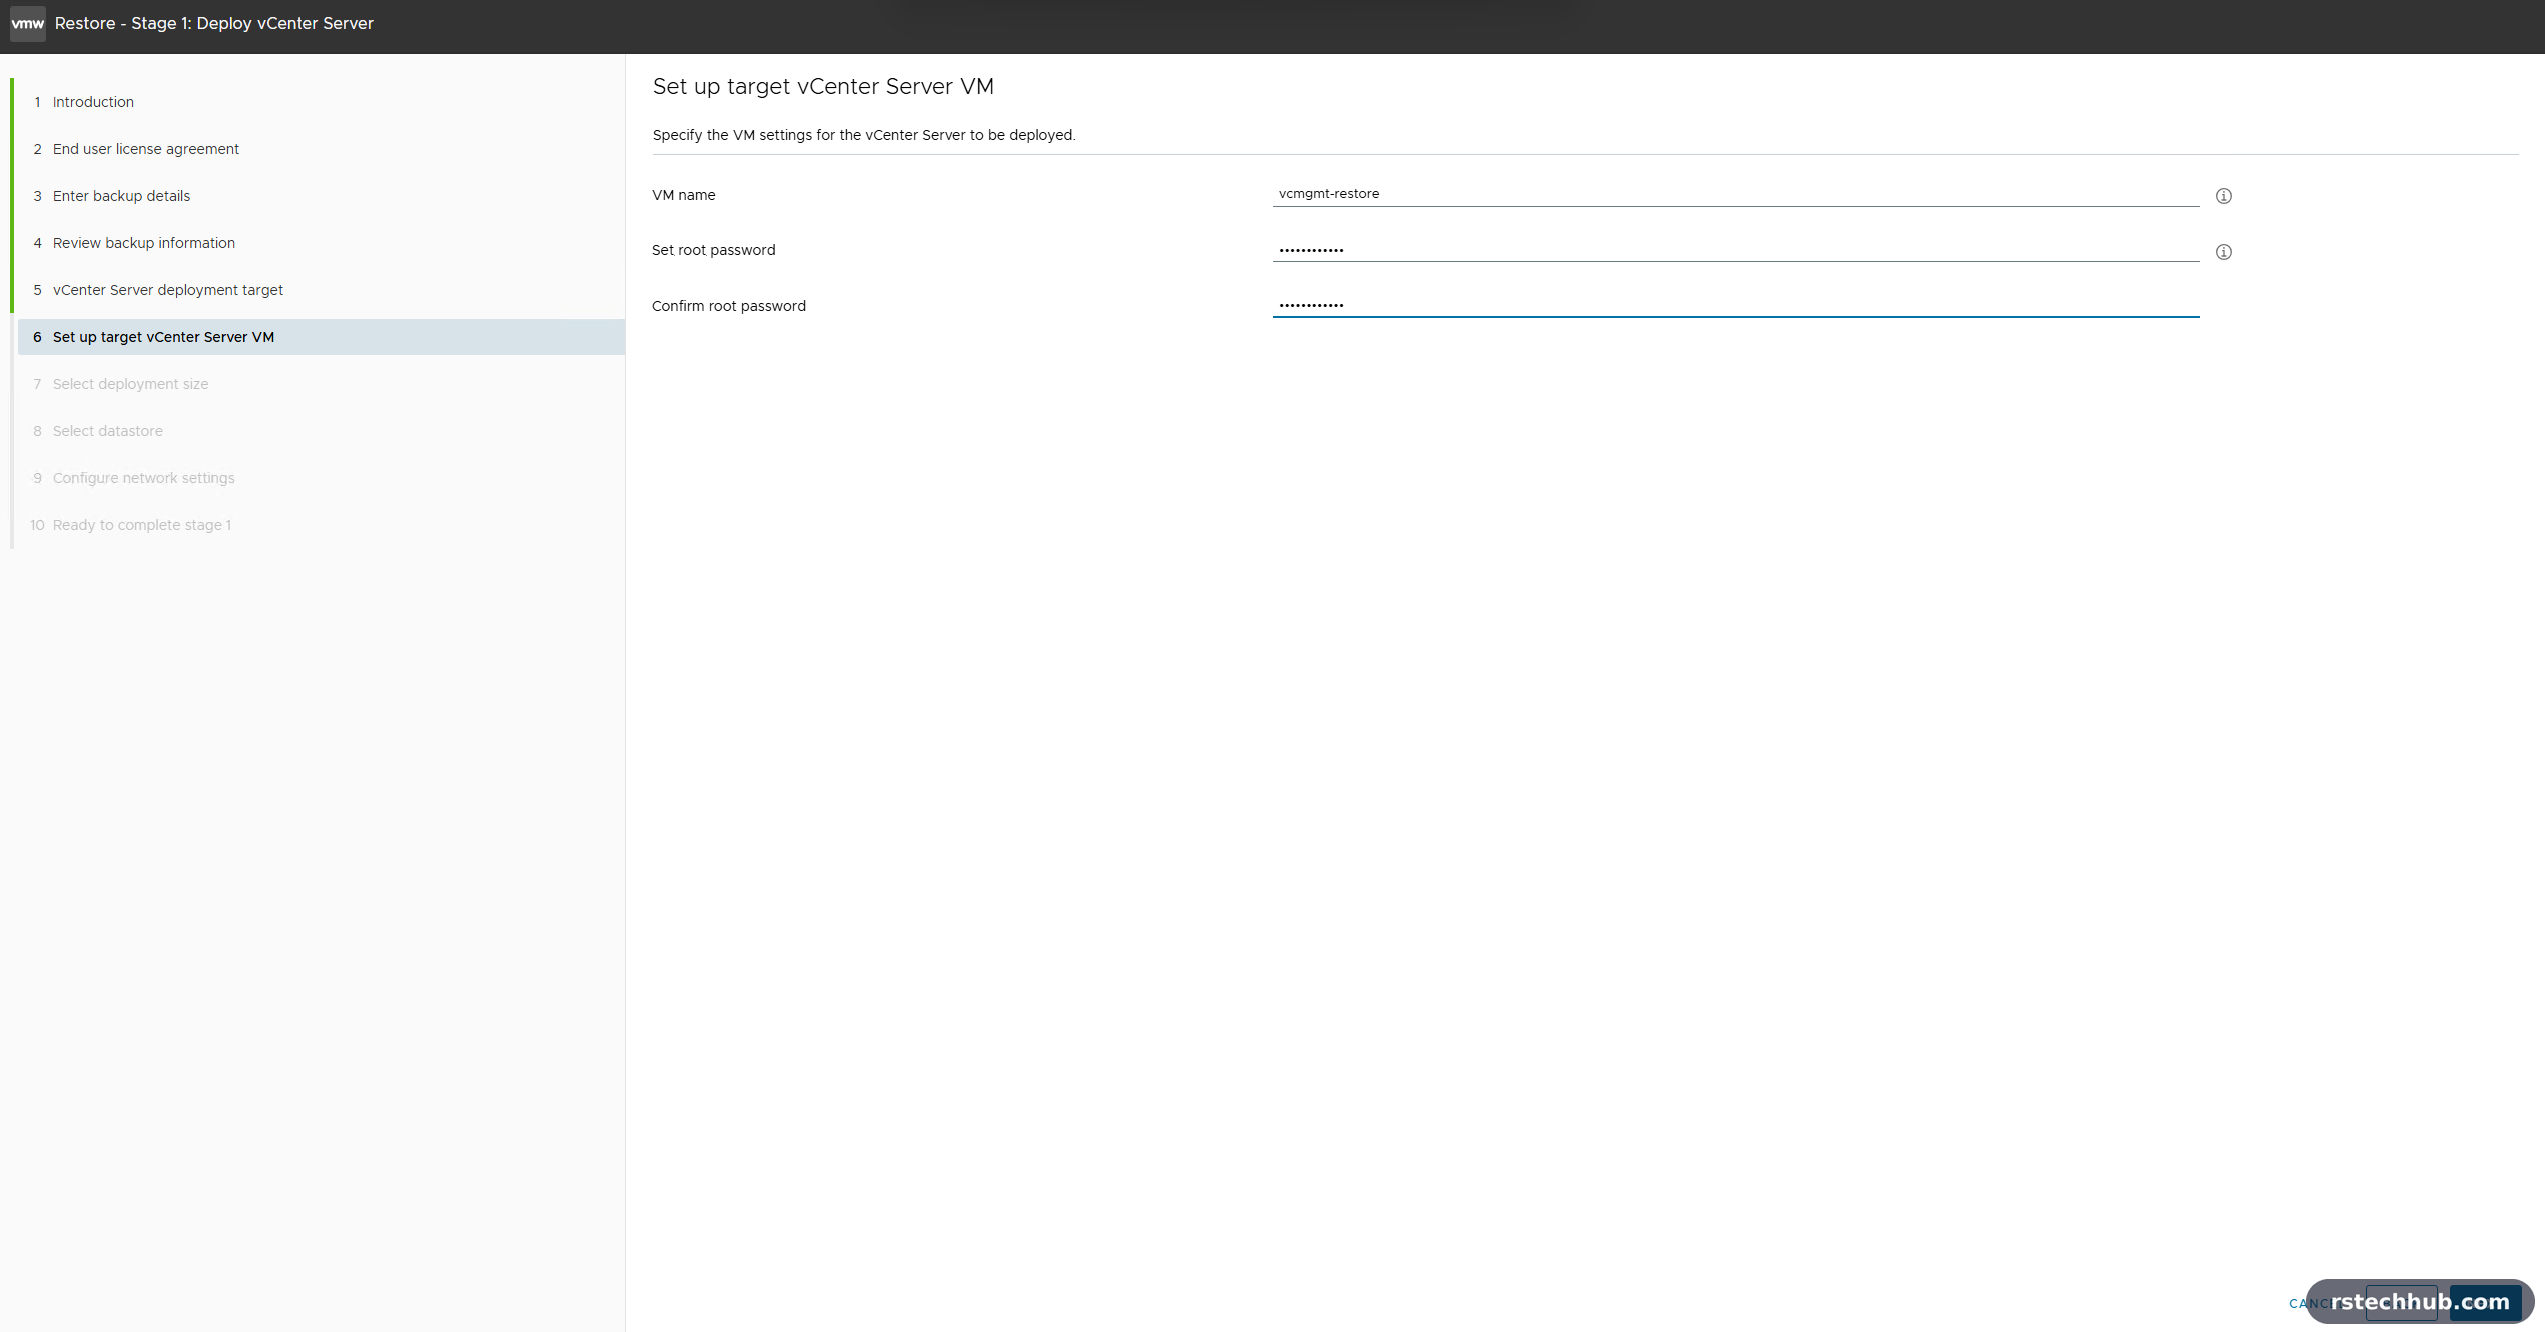
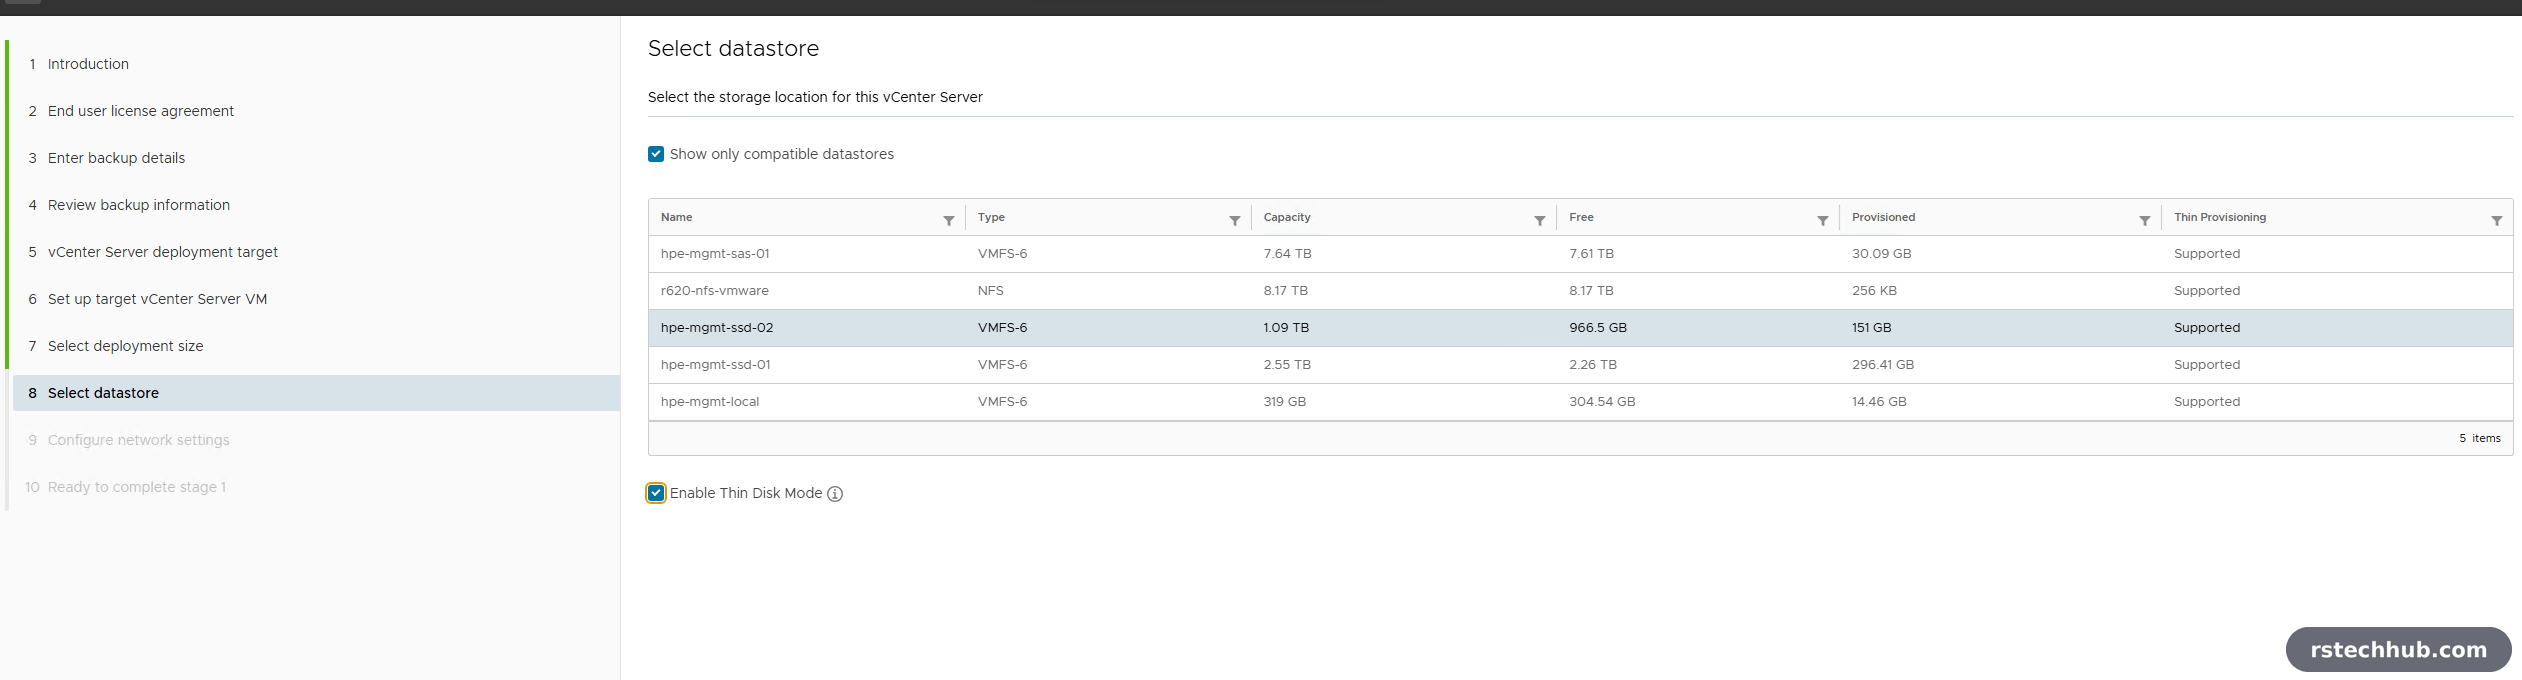
The installer read the backup over NFS from my Windows admin PC with no extra setup. On the Stage 1 summary the Backup timestamp and Version fields were blank. Stage 2 filled them in later.
My mistake: a temporary IP
My first plan was to give the new appliance a spare IP in Stage 1, so the old vCenter could keep running until Stage 2. Stage 1 finished happily. Stage 2 stopped on its first page:
Metadata and system validation failed. Local machine IP(s) … do not match to any of the PNID resolved IPs.
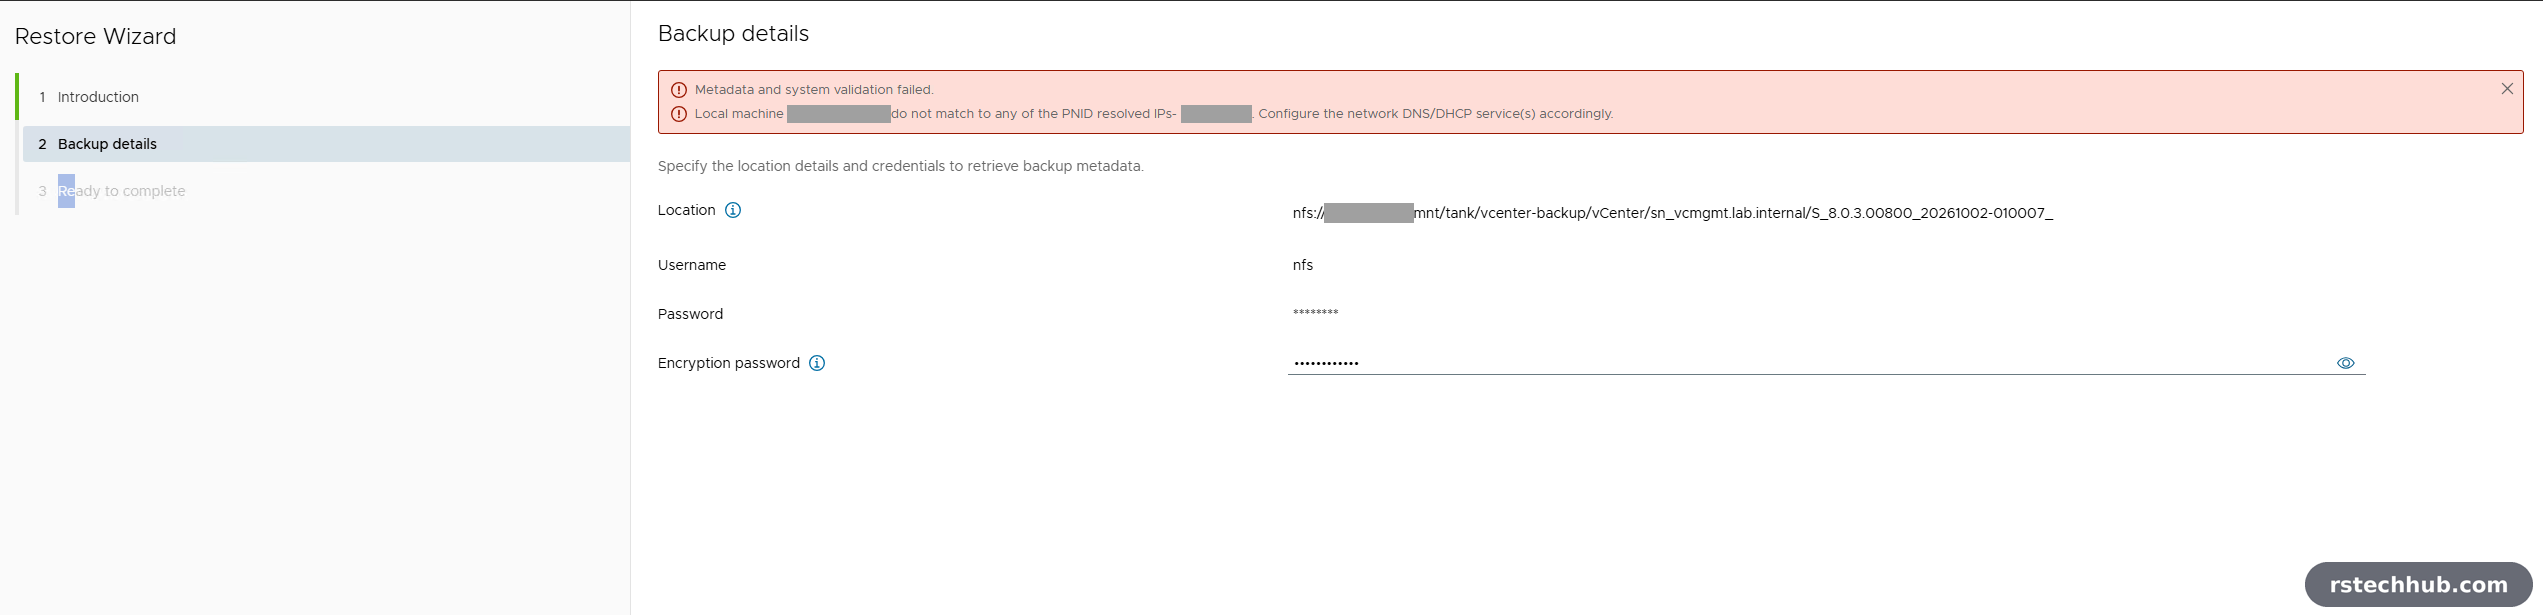
The PNID is the name vCenter was installed with, here vcmgmt.lab.internal. Stage 2 checks that the appliance’s own IP is the one that name resolves to in DNS. A temporary IP can never pass that check.
The fix was to delete the half-built VM, leave the original powered off, and run Stage 1 again with the original FQDN and IP. It cost me about 15 minutes. The installer’s introduction page does say to shut down the old vCenter before you proceed. I read that as advice for Stage 2. It applies to Stage 1.
Stage 2: restore the data
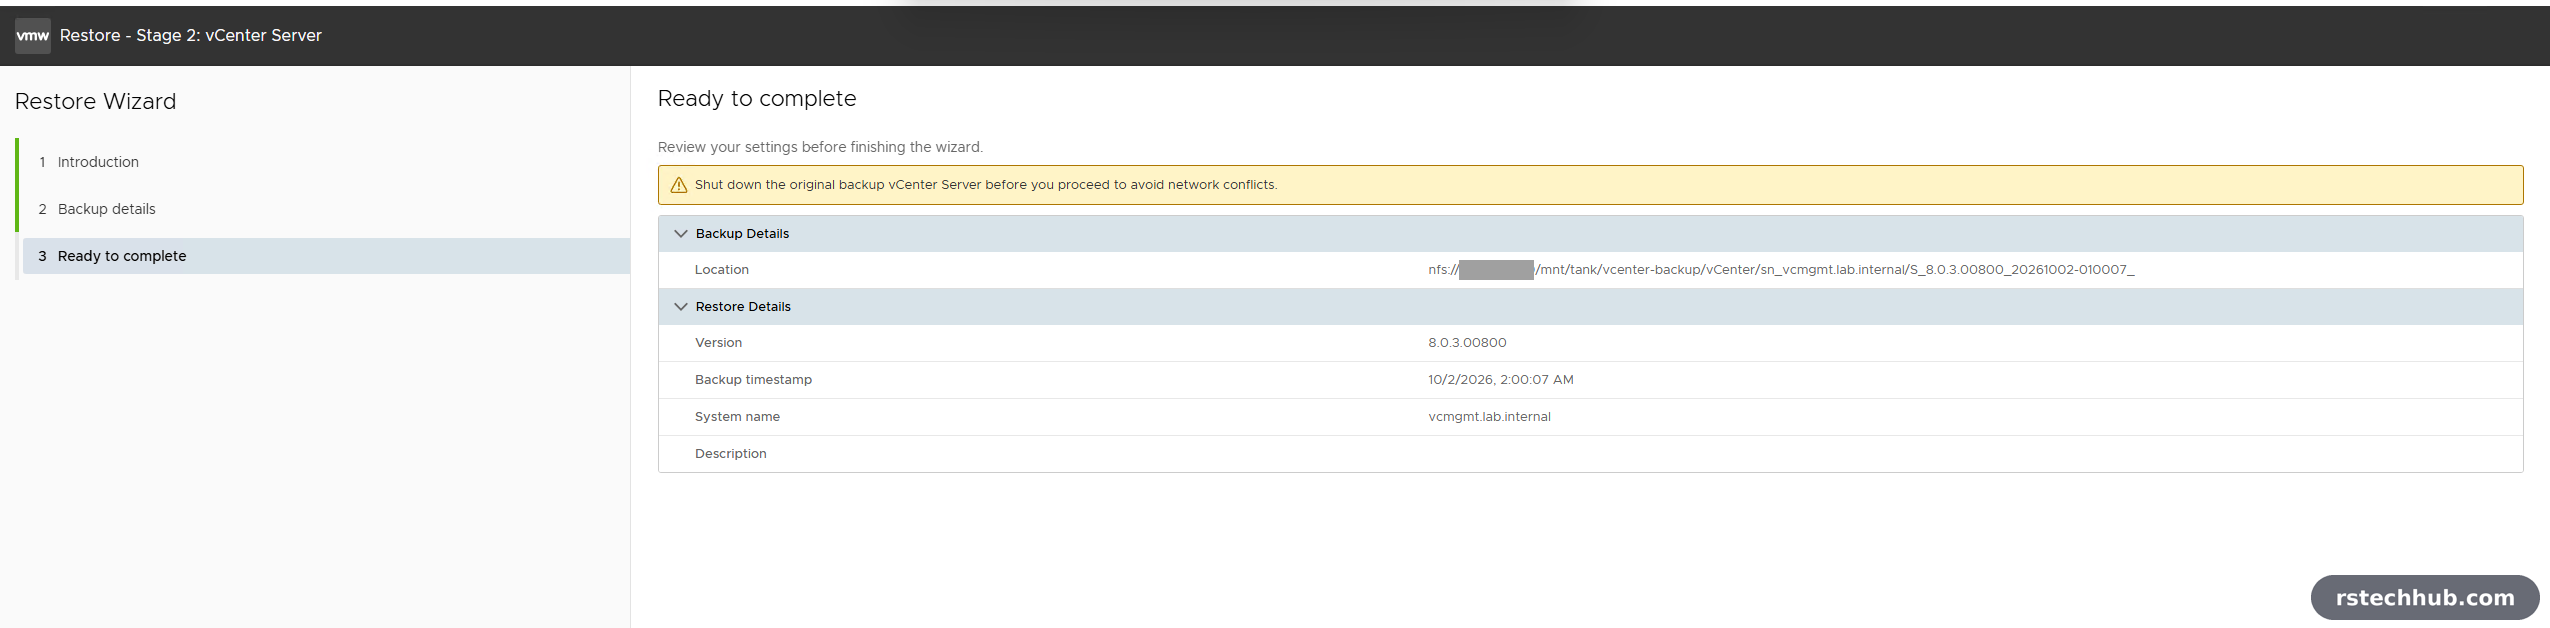
Click Continue at the end of Stage 1. Backup details now asks for the encryption password, and Ready to complete shows the version, the backup time and the system name. Once you click Finish, the restore cannot be paused or stopped.
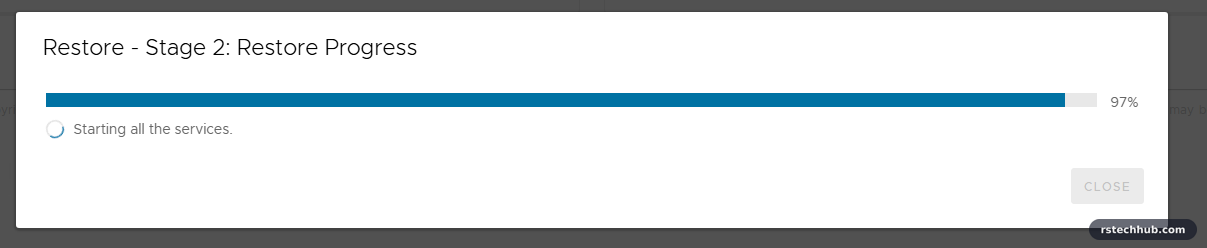
The data copy went quickly. Then the progress bar sat at 97%, Starting all the services, for long enough that I wondered if it had hung. It had not. A Tiny appliance with 2 vCPUs starts its services one at a time. Leave the installer open and wait.
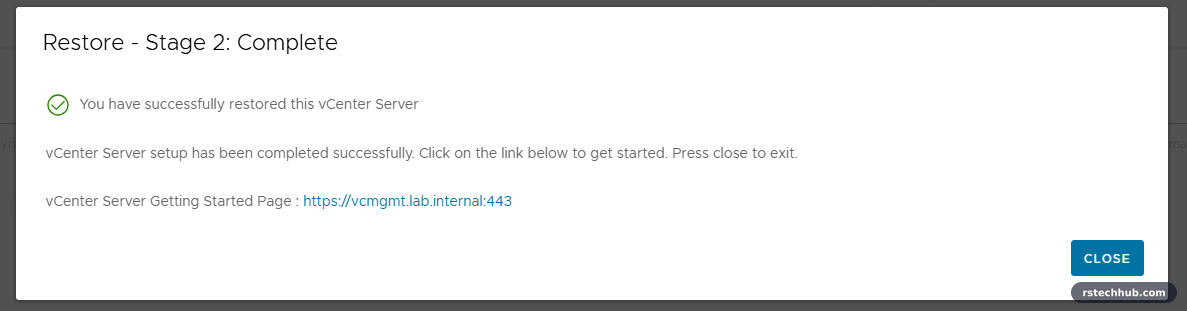
Checking the restored vCenter
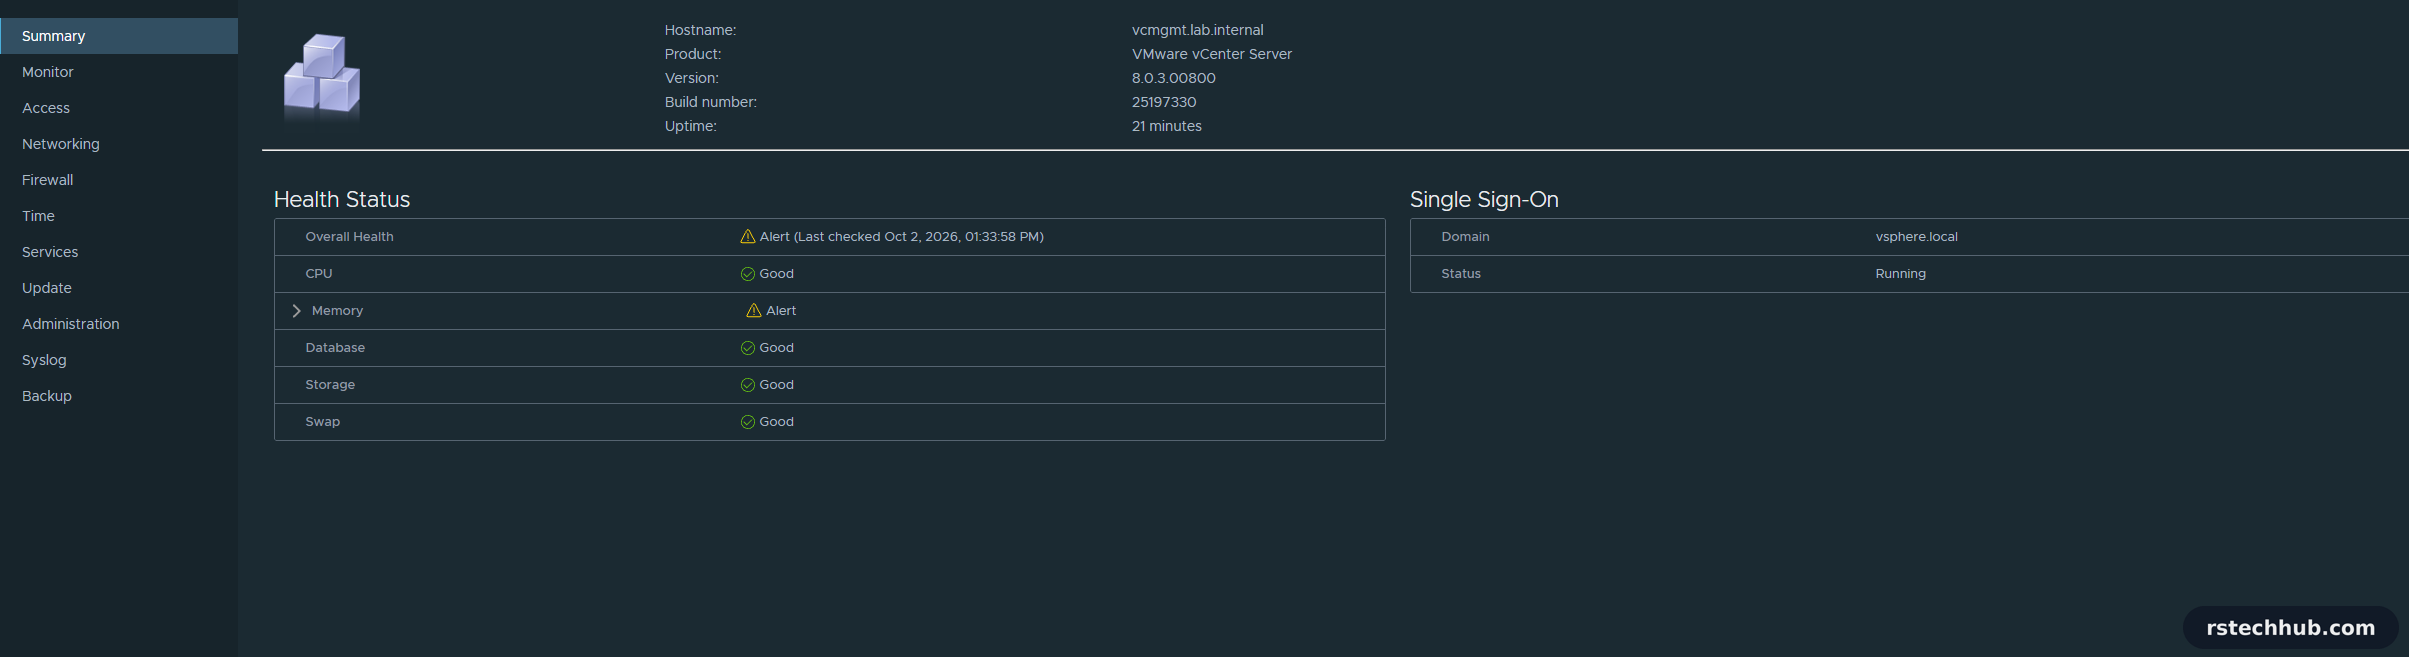
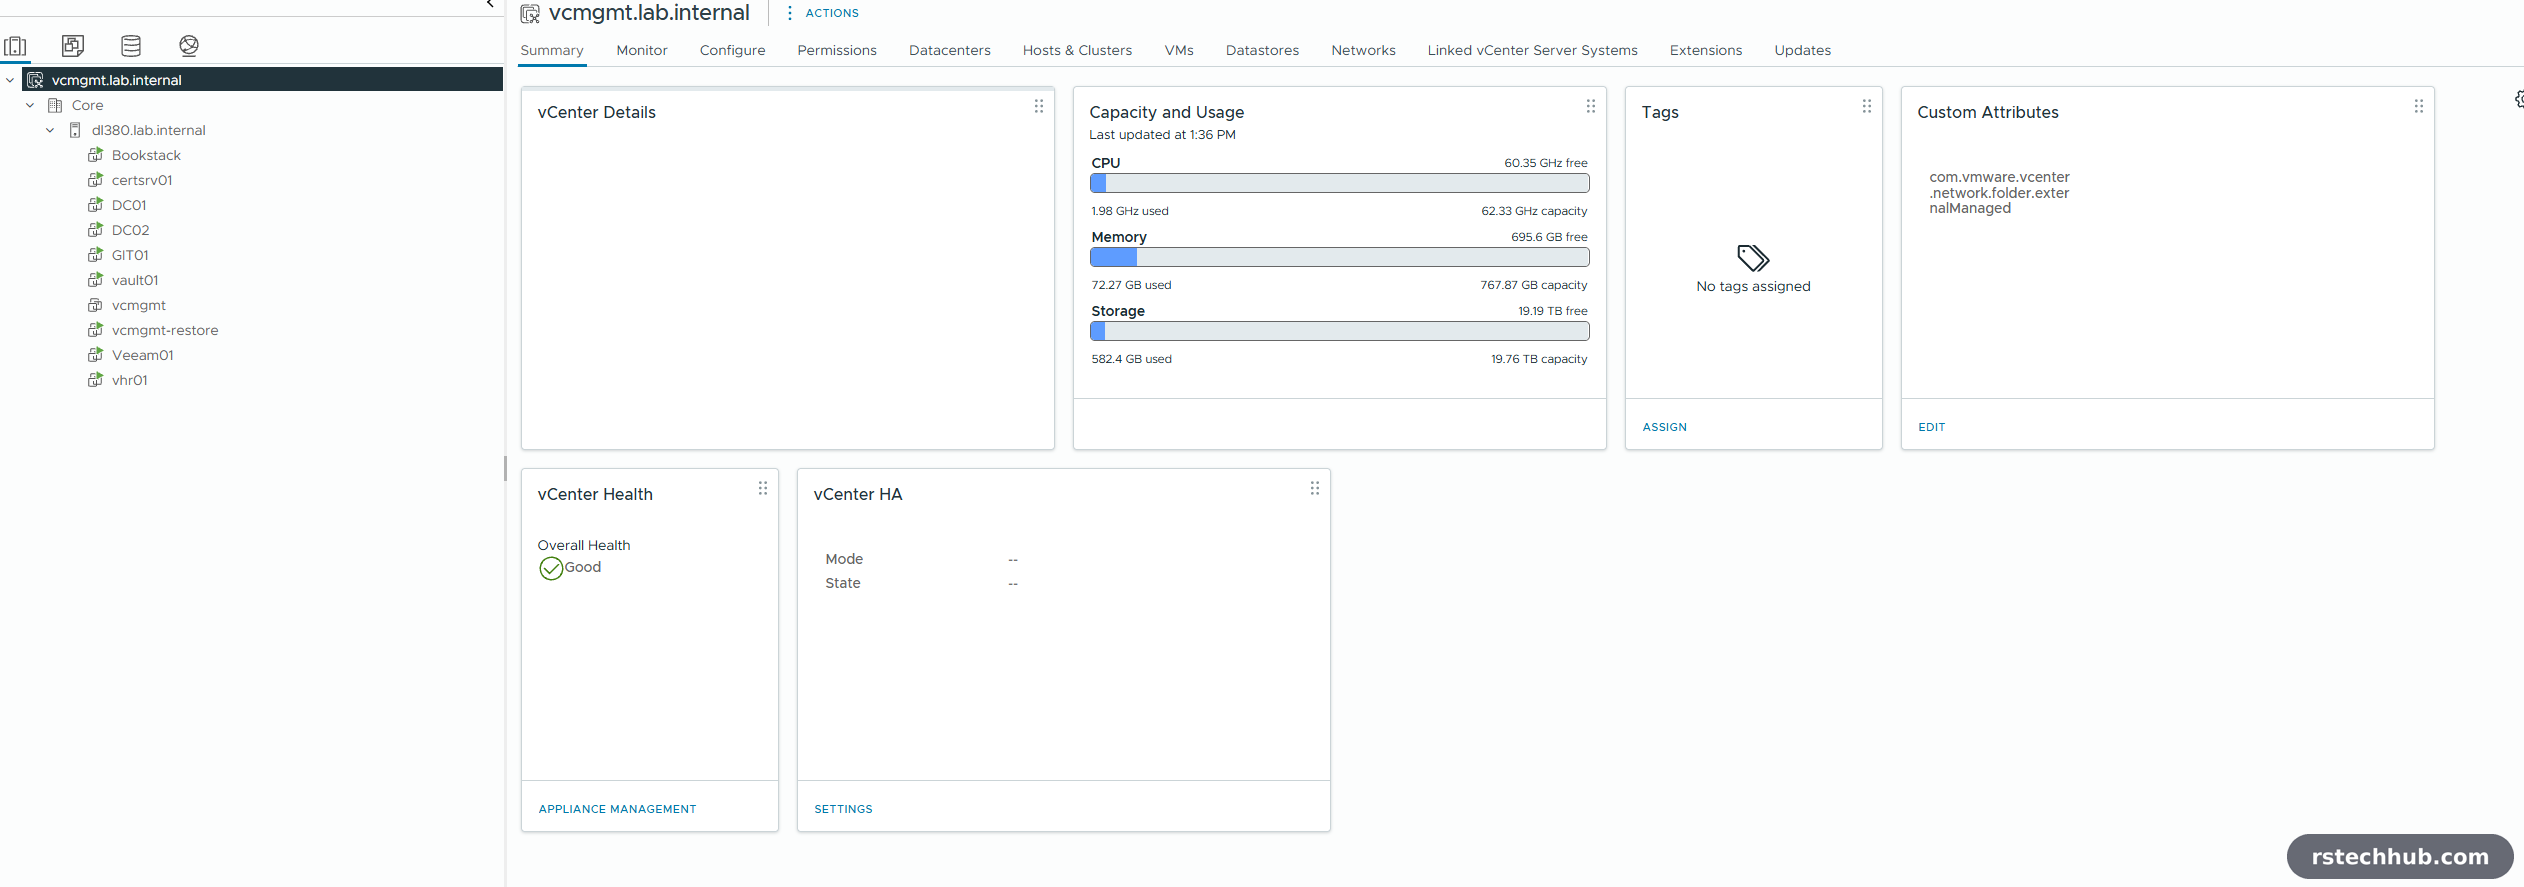
- VAMI. Same name, version and build, with an uptime in minutes. Health was Good apart from Memory. The original showed the same memory alert, so the cause is the Tiny size’s 14 GB. I will raise it to 16 GB.
- Sign-in. Both
administrator@vsphere.localand my AD account worked, so the AD identity source came back with the restore. - Inventory. The datacenter, the host and every VM were there, including vcmgmt-restore itself.
- Backup. Backup Now on the restored appliance wrote 321.89 MB in 31 seconds to the same share. VAMI reports the version as 8.0 U3i. The Activity list only shows runs made by this appliance; the older backups are still on the share.

Keeping the restored copy
It worked, so I kept it. I renamed the original VM to vcmgmt-old and left it powered off, then renamed vcmgmt-restore to vcmgmt. The old one goes after a few nights of clean backups.
One thing would have caught me out tonight. The restored vCenter is a new VM with a new ID, and Veeam tracks VMs by ID. My nightly Veeam job still pointed at the old, powered-off VM. I removed it from the job and added the new one. If anything else backs up your vCenter VM at image level, check it too.
What I took from it
- Shut the old vCenter down before Stage 1, and deploy with its own FQDN and IP.
- Use an installer ISO with the exact build of the backup.
- Expect a long pause at 97%.
- Re-add the vCenter VM to image-level backup jobs afterwards.
- Allow about an hour of vCenter downtime. Mine ran a little longer because of the false start.