
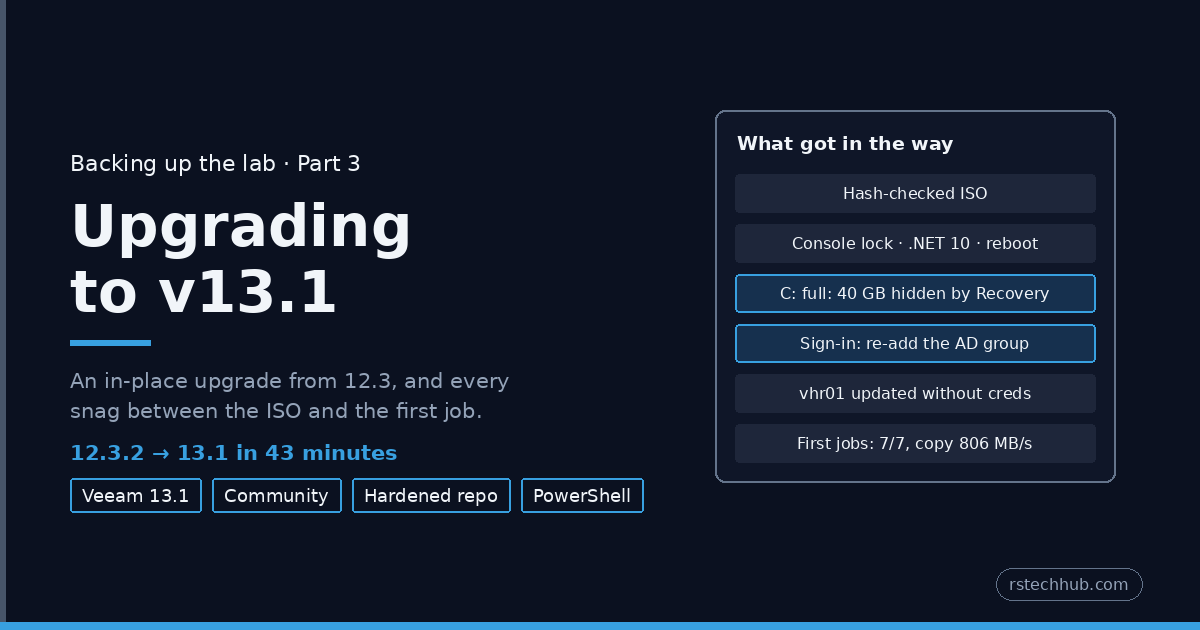
Parts 1 and 2 built the backups on Veeam Backup & Replication 12.3. I planned from the start to install v12 and then upgrade, because most people run an upgrade, not a clean v13 install. This part is that upgrade, done in place on the same Windows server.
Check the version first
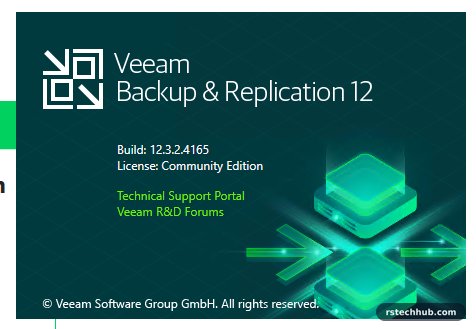
An in-place upgrade to v13 needs 12.3.1 (build 12.3.1.1139) or later. Anything older has to go to the latest 12.3 release first, or the installer stops with you can upgrade from version 12.3.1.1139 or later only (Veeam KB4763).
In the console: menu → Help → About. Mine was 12.3.2.4165, Community Edition, so I could go straight to v13.
Before you start
- Download the v13.1 ISO for Windows from my.veeam.com. The Windows installer, not the Software Appliance.
- Disable the jobs. Let anything running finish, then disable the nightly backup job and the backup copy job.
- Run a configuration backup from the main menu, so the settings are safe whatever happens.
- Snapshot the backup server. In a lab, this is the quickest way back if the upgrade goes wrong.
Getting the right ISO
The download needs a free Veeam account; there is no anonymous link. On the download page pick Veeam Backup & Replication 13.1 (13.1.1.18, 21.2 GB). The Veeam Software Appliance above it is the new Linux appliance, which is a fresh deployment and a separate topic.
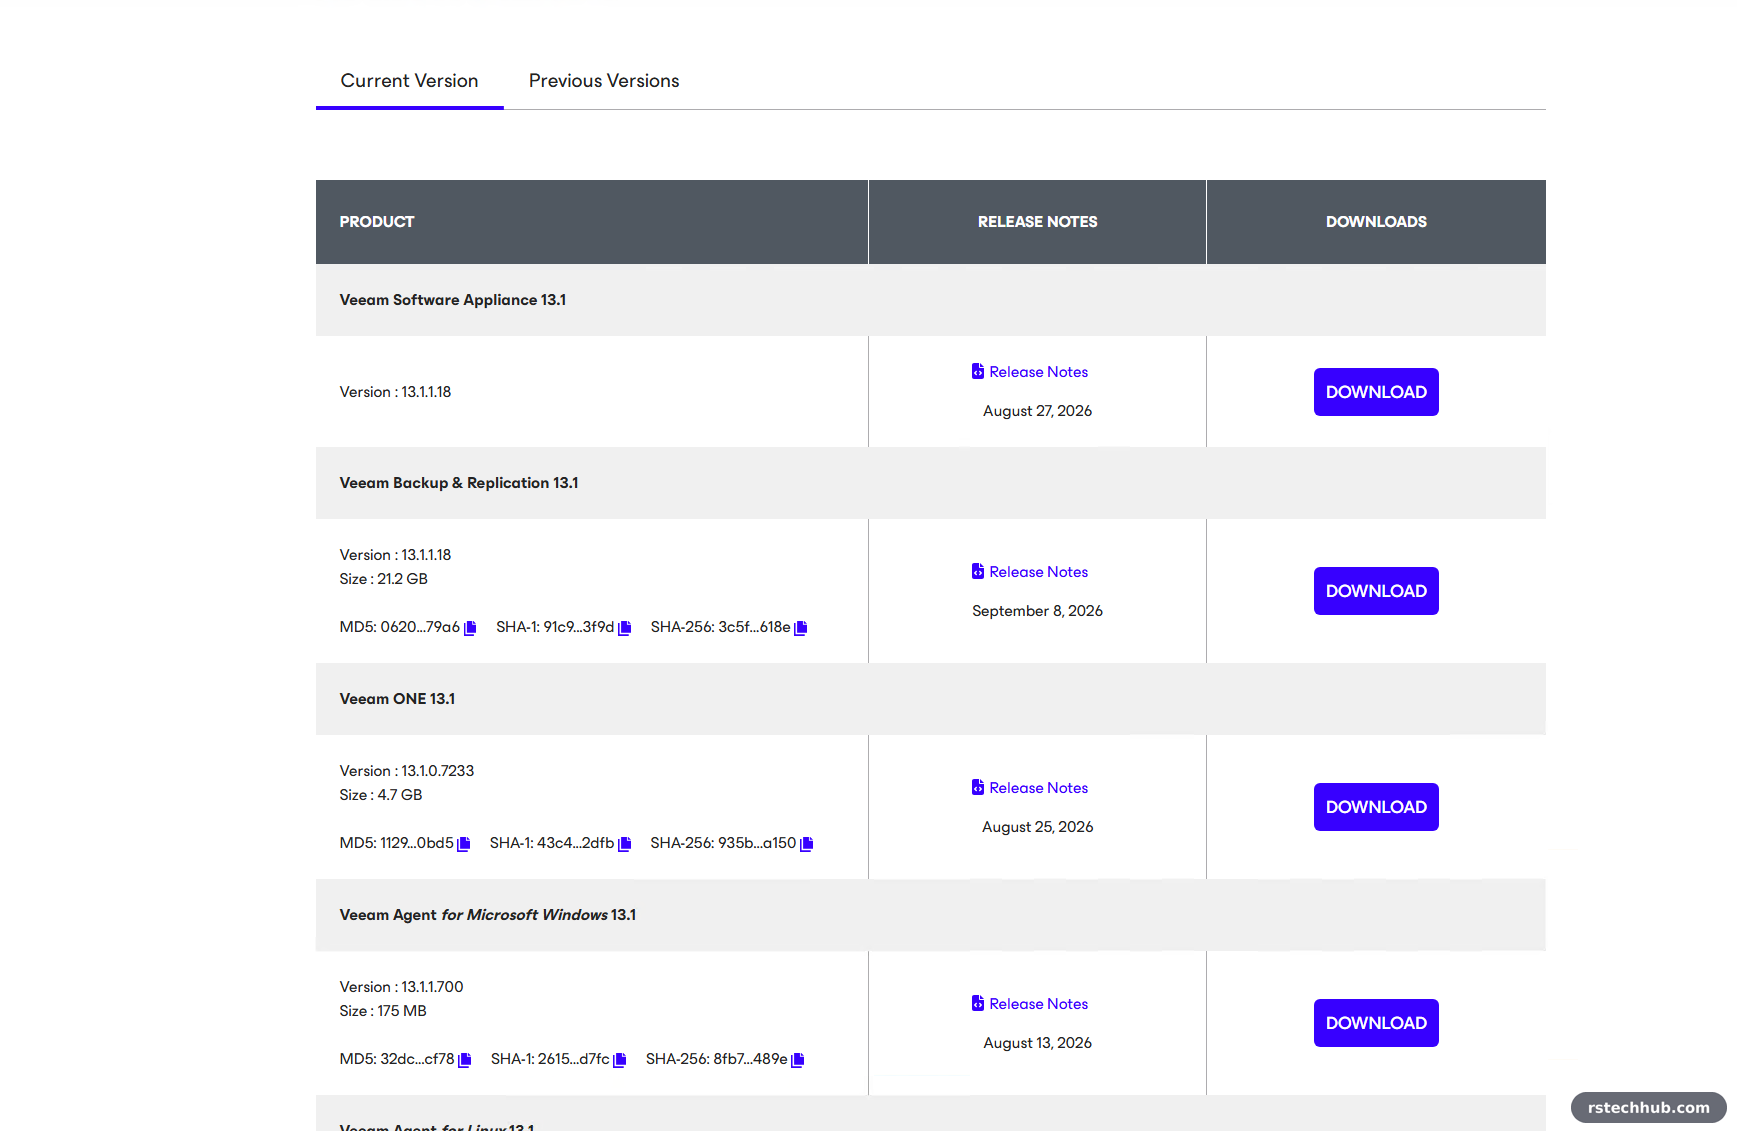
Check the hash before you go near the backup server. A copy I already had from elsewhere came back with a different SHA-256, so it went straight in the bin. A modified installer on the server that holds your vCenter credentials is the last thing you want.
Get-FileHash .\VeeamBackup*.iso -Algorithm SHA256
# must match the SHA-256 on the Veeam download page (3C5F...618E for 13.1.1.18)
veeam01 did not have room for a 21 GB file, so I uploaded the ISO to a datastore and attached it to the VM’s CD drive instead.
Running the upgrade
The 13.1 launcher has a single Upgrade button, then a menu where only Upgrade Veeam Backup & Replication is active. What happened next, in order:
.NET 10 first
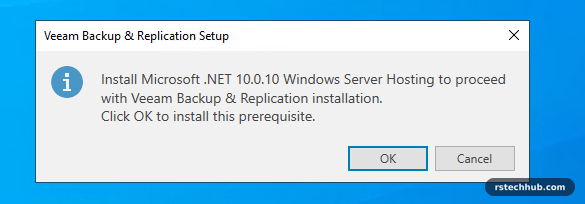
Setup asks to install Microsoft .NET 10.0.10 Windows Server Hosting before anything else. It installs from the ISO; click OK.
The console was still open
We are unable to update the following files, because they are locked by an external process… Veeam.Backup.Shell.exe. That is the console, left open in another session. Find it and close it, then Retry:
Get-Process Veeam.Backup.Shell -IncludeUserName -ErrorAction SilentlyContinue
Stop-Process -Name Veeam.Backup.Shell -Force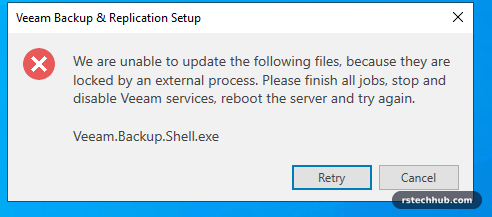
Licence page
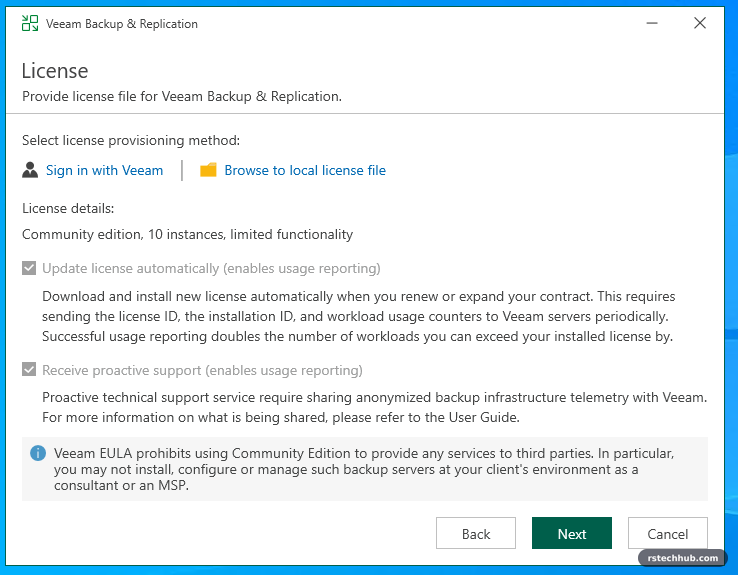
Community Edition is picked up automatically (10 instances), no file needed. The two usage-reporting boxes are ticked and greyed out: on Community Edition they are not optional. The page also reminds you that the Community Edition EULA does not allow using it at a client’s site as a consultant or MSP.
A reboot in the middle
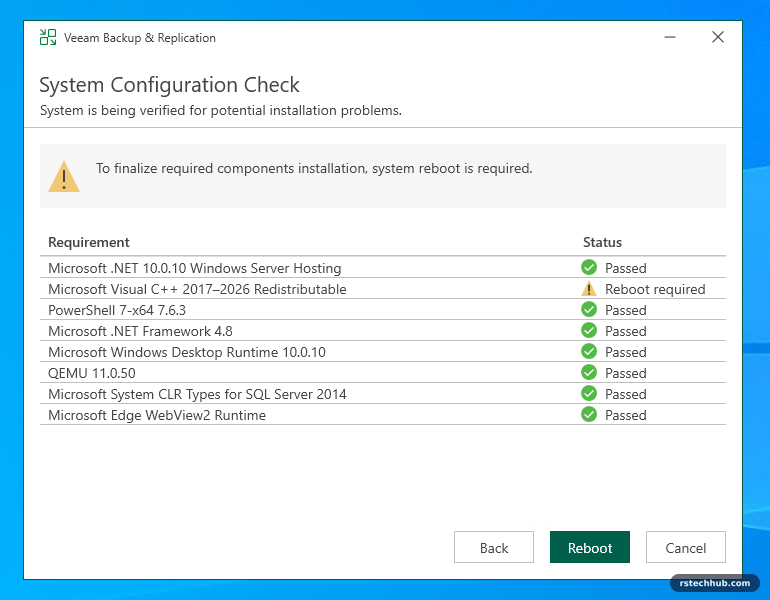
The system check installs PowerShell 7, the .NET runtimes, QEMU, WebView2 and a new Visual C++ runtime, and the Visual C++ one needs a reboot. After logging back in, setup reopens on its own. I launched Setup.exe again out of habit and got Another installation is already in progress. Just wait for the window to come back.
# if in doubt, see what is still installing
Get-Process msiexec, Veeam.Setup* -ErrorAction SilentlyContinue | Select-Object Name, Id, StartTime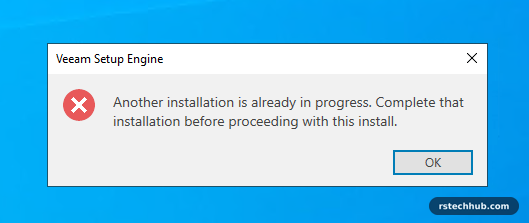
Not enough disk space
The Configuration Check stopped with Drive C: 32.98 GB required, 17.93 GB available. The VM had a 100 GB disk, but C: was only 59 GB. The other 40 GB sat unallocated behind a 713 MB Recovery partition at the end of the disk, a leftover from my Windows template, so Windows could not extend C: into it.
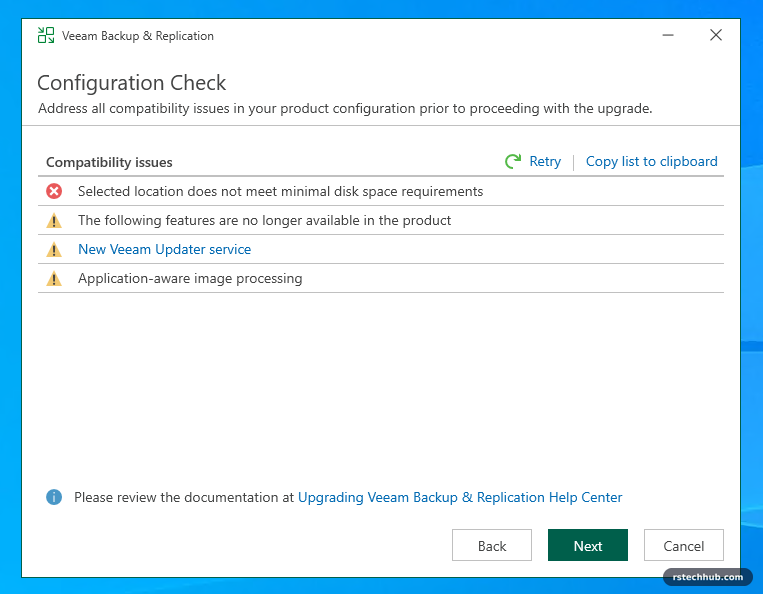
You cannot grow a disk that has a snapshot, so I deleted the pre-upgrade snapshot first. In the end the disk did not need to grow at all: removing the Recovery partition freed the 40 GB that was already there.
Get-Disk | Select-Object Number, @{n='SizeGB';e={[math]::Round($_.Size/1GB)}}, @{n='UnallocGB';e={[math]::Round(($_.Size-$_.AllocatedSize)/1GB)}}
Get-Partition -DiskNumber 0 | Select-Object PartitionNumber, DriveLetter, Type, @{n='SizeGB';e={[math]::Round($_.Size/1GB,1)}}

reagentc /info
reagentc /disable
Get-Partition -DiskNumber 0 | Where-Object Type -eq 'Recovery' | Remove-Partition -Confirm:$false
Update-HostStorageCache
Resize-Partition -DriveLetter C -Size (Get-PartitionSupportedSize -DriveLetter C).SizeMax
Get-PSDrive C
C: went to 99.9 GB with 58.6 GB free. Windows RE was already disabled on this server, so nothing was lost. I fixed the template the same way and added a note to Core Infrastructure, Part 7. Then I took a new snapshot and ran setup again.
The warnings
With the space sorted, only warnings were left, and none applied to this lab:
- Deprecated for new jobs: restore point-based retention, reversed incremental, the single-storage backup format option, AD authentication for new Cloud Connect tenants. Existing jobs keep working.
- Discontinued: the U-AIR wizard, restoring by double-clicking VBK/VBM files, and burning recovery media to disc.
- New Veeam Updater service that installs security updates automatically (Veeam KB4840). Worth reading before you let it loose on production.
- Application-aware processing now needs Windows Server 2012 R2 SP1 or later, Windows 10 22H2 (LTSC 1507) or Windows 11 22H2. Everything here is Server 2022.
Upgrade
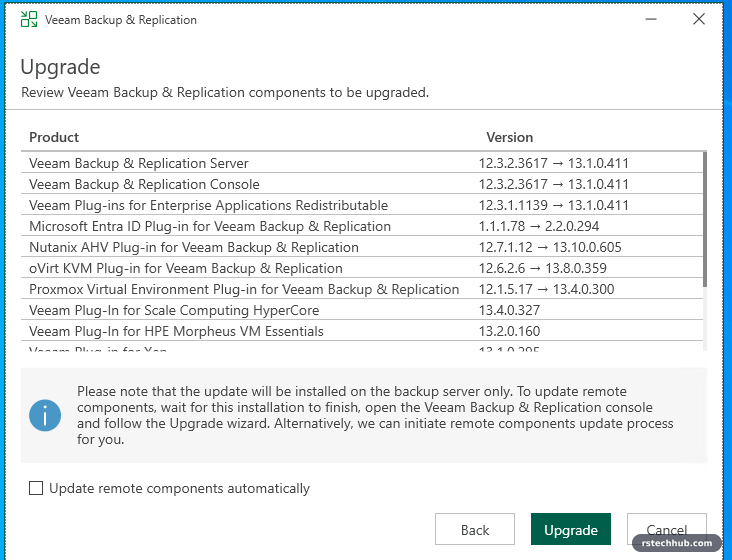
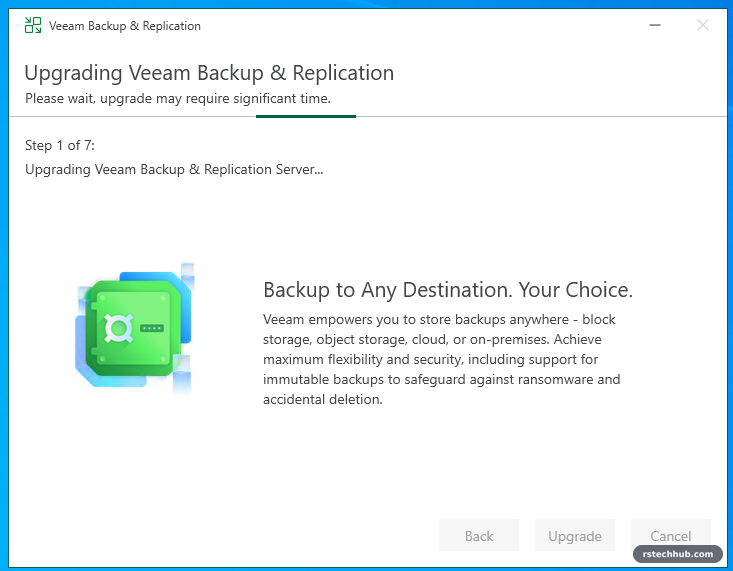
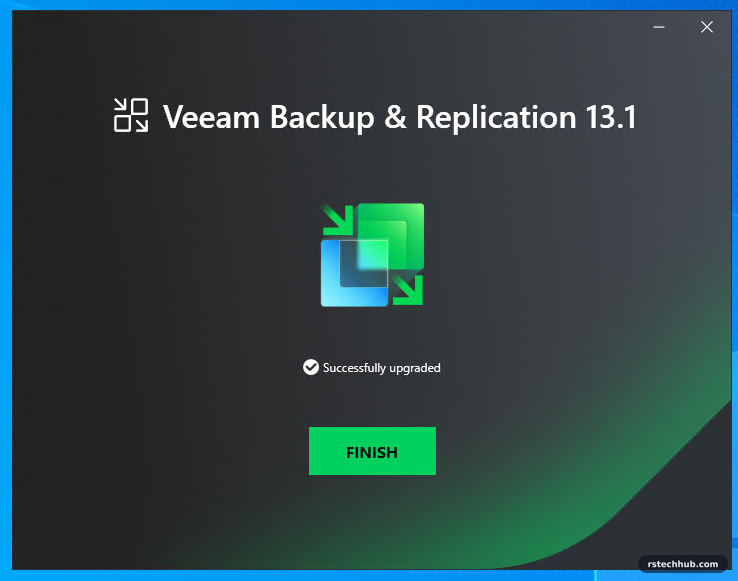
The last page lists every component: server and console 12.3.2 to 13.1, the existing plug-ins, and three new ones (Scale Computing HyperCore, HPE Morpheus VM Essentials, Xen). I ticked Update remote components automatically and clicked Upgrade. Seven steps, the first (the server and database) by far the longest. Start to finish: 43 minutes, 18:12 to 18:55, on 4 vCPU and 16 GB.
After the upgrade
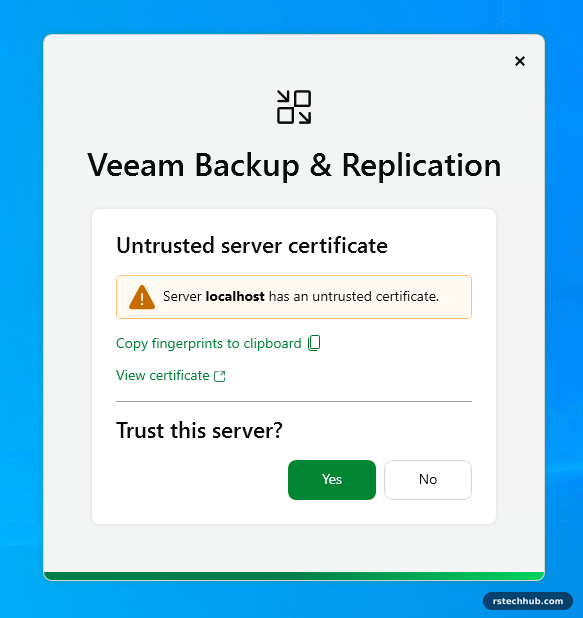
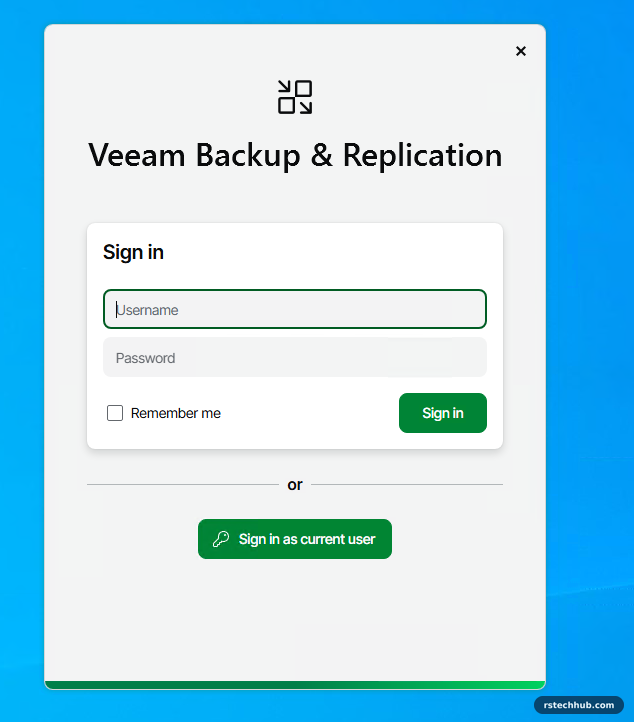
The v13 console looks different from the first click. It asks whether to trust the server’s certificate, even on localhost, then shows a new sign-in screen with Sign in as current user as an option.
Failed to retrieve user account information
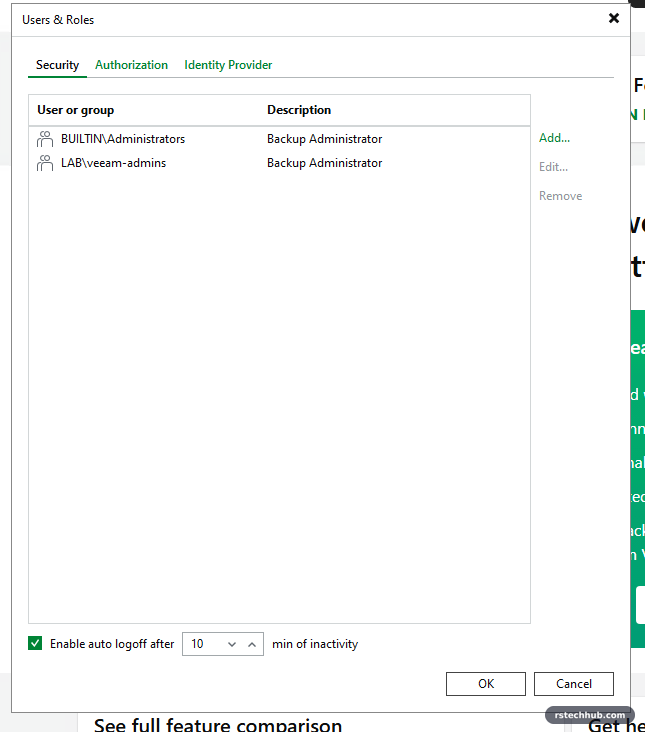
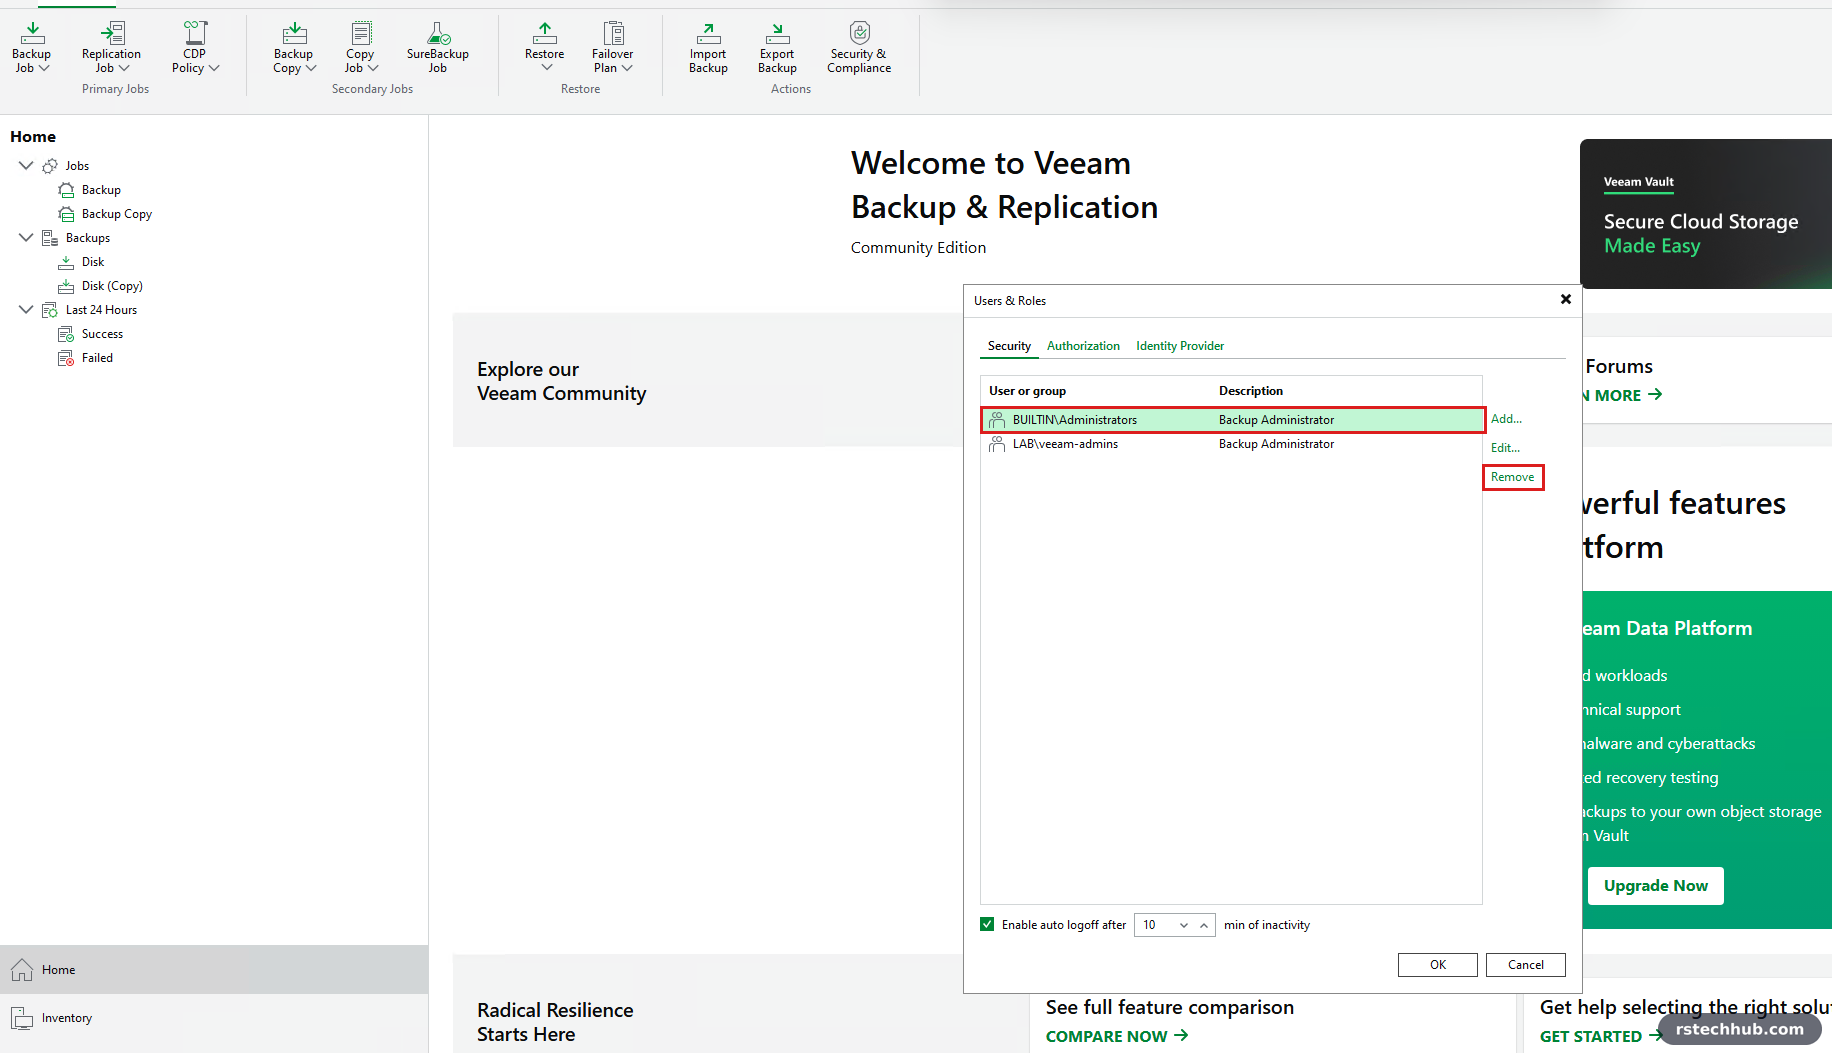
My named admin, LAB\labadmin in the veeam-admins group, could not sign in: Failed to retrieve user account information. The local Administrator could, which showed me something else: BUILTIN\Administrators was still in Users & Roles. I had meant to remove it in Part 1.
First I ruled out the domain trust:
nltest /sc_verify:lab.internal # NERR_SuccessThe cause is a v13 change. It reads the account’s userPrincipalName from AD, and v12 never did. An account with an empty UPN cannot sign in. Check and fix on a DC, then restart the Veeam services:
Get-ADUser labadmin -Properties UserPrincipalName | Select-Object SamAccountName, UserPrincipalName
Set-ADUser labadmin -UserPrincipalName 'labadmin@lab.internal'
No AD module on the Veeam server? Two quick checks from there. Signed in to Windows as the account itself, whoami /upn prints the UPN, or fails with an error if there is none. As any user, an LDAP lookup does the same:
whoami /upn
([adsisearcher]'(sAMAccountName=labadmin)').FindOne().Properties.userprincipalname
In my case the UPN was already set, so that was not it. What got me in was two things done together: restarting every Veeam service with the script below, and in Users & Roles (signed in as the local Administrator) removing LAB\veeam-admins and adding it back as Backup Administrator. I did both before trying again, so I cannot say which one fixed it. If you hit this error, check the UPN first, then try both.
With the named admin working again, I removed BUILTIN\Administrators from Users & Roles, as I should have done in Part 1.
A script to restart Veeam
Restarting every Veeam service in the right order comes up a lot when troubleshooting, so I wrote it once. Restart-VeeamServices.ps1 closes any open console, stops all Veeam services with the main Backup Service last, and starts them again database first. It only starts services set to Automatic and supports -WhatIf. It is in lab-tools on GitHub.
New-Item -ItemType Directory C:\Scripts -Force | Out-Null
Invoke-WebRequest https://raw.githubusercontent.com/rstechhub/lab-tools/main/veeam/Restart-VeeamServices.ps1 -OutFile C:\Scripts\Restart-VeeamServices.ps1
Unblock-File C:\Scripts\Restart-VeeamServices.ps1

C:\Scripts\Restart-VeeamServices.ps1                  # status
C:\Scripts\Restart-VeeamServices.ps1 -Action Restart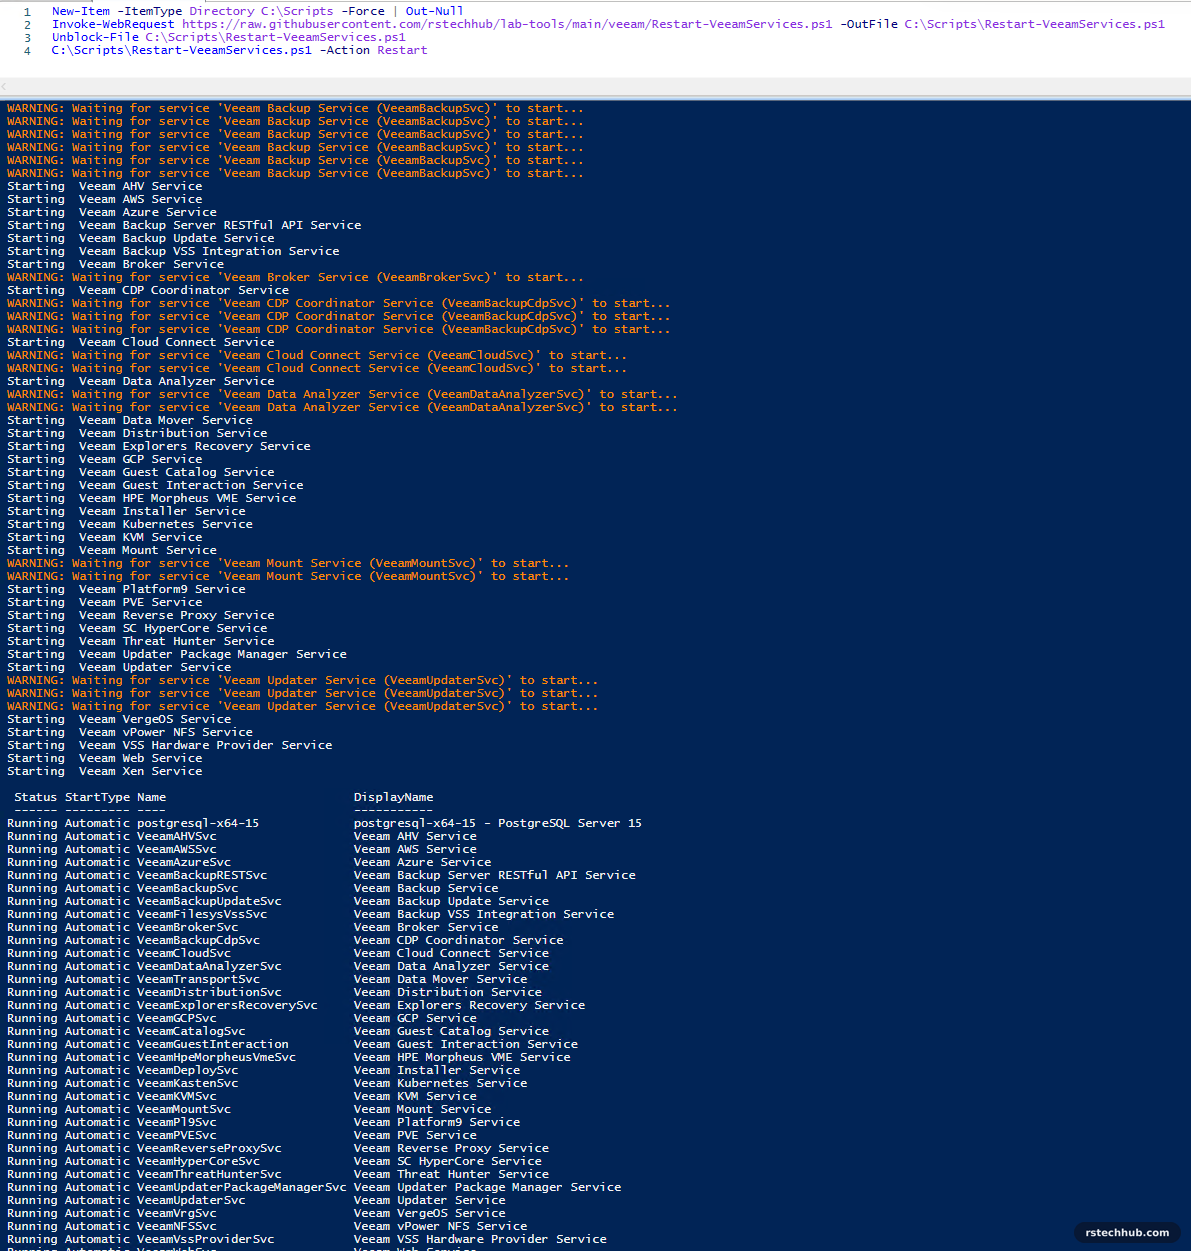
Without the script, the same thing by hand:
Get-Process Veeam.Backup.Shell -ErrorAction SilentlyContinue | Stop-Process -Force
Get-Service Veeam* | Where-Object Status -eq Running | Stop-Service -Force
Get-Service postgresql*, 'MSSQL$*' -ErrorAction SilentlyContinue | Start-Service
Get-Service VeeamBackupSvc | Start-Service
Get-Service Veeam* | Where-Object StartType -eq Automatic | Start-Service
The hardened repository
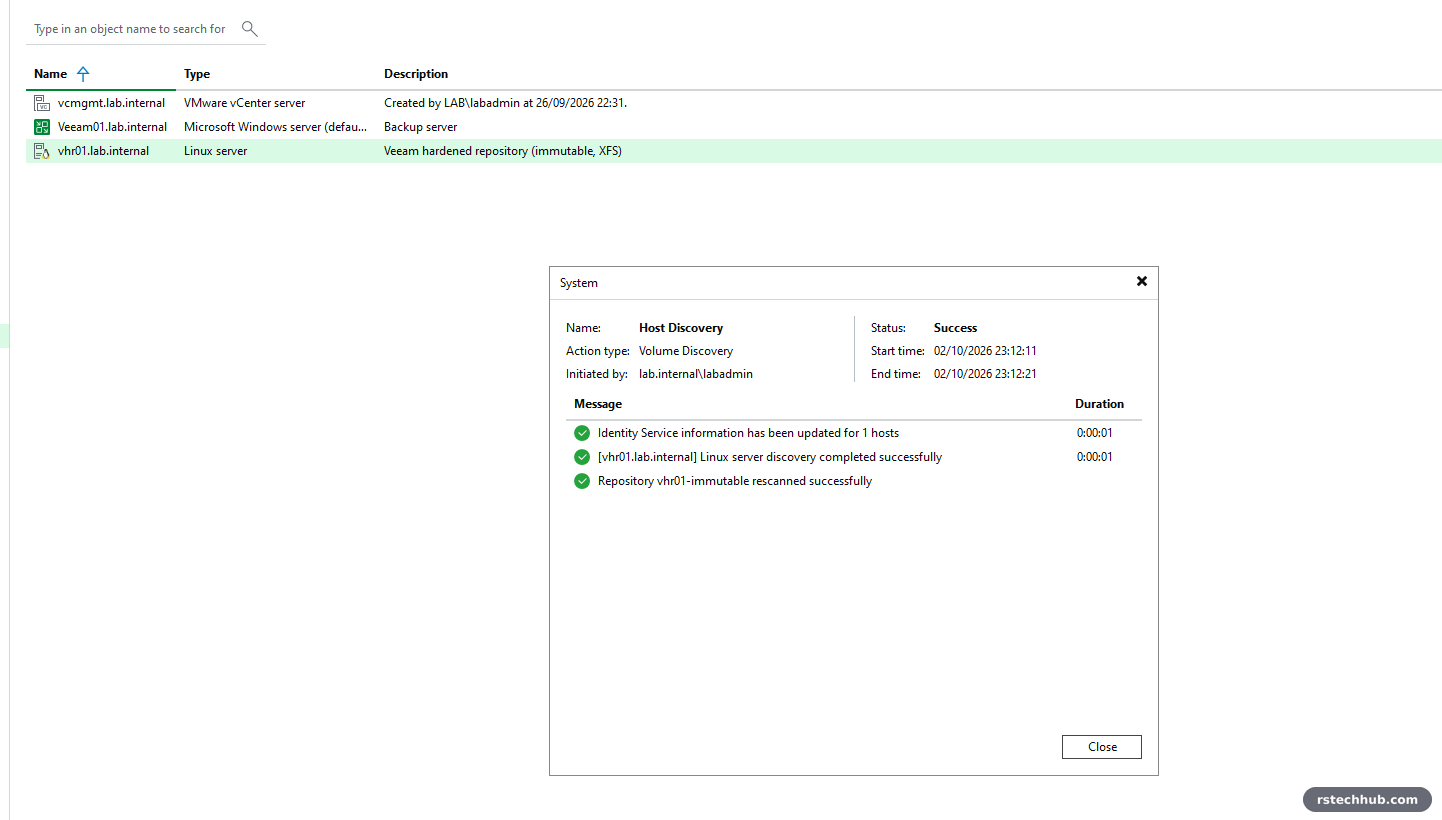
I expected trouble here. vhr01 was added in Part 2 with single-use credentials, so the backup server keeps no password for it. There was nothing to do: right-clicking vhr01 under Managed Servers offered no Upgrade option, and a Rescan came back clean. Since v12 a Linux server runs Veeam’s own deployer service, and the backup server updates it over its certificate, so the ticked Update remote components automatically box covered it.
To prove it on the box itself (signed in as my admin user; veeamrepo has no business being used interactively):
systemctl list-units --type=service | grep -i veeam
ls /opt/veeam
/opt/veeam/transport/veeamtransport --version
Four services running (Linux Deployer, Environment, Immutability Service, Transport) and the transport at 13.1.1.18. Do not bother with dpkg -l | grep veeam: the components live in /opt/veeam, not in packages, so it returns nothing even when all is well.
First jobs on v13
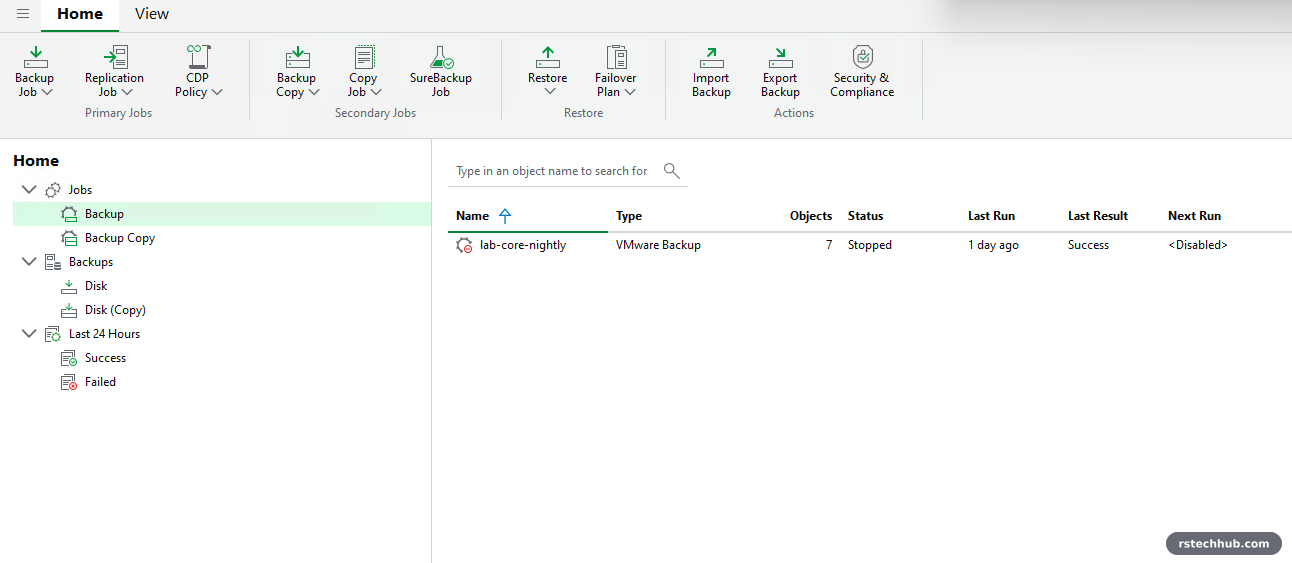
Re-enabling a job caught me out for a second: the Status column says Stopped whether a job is enabled or not. The tell is the Next Run column, which reads <Disabled>, and a small red mark on the icon. Right-click, untick Disable, and Next Run shows the schedule again.
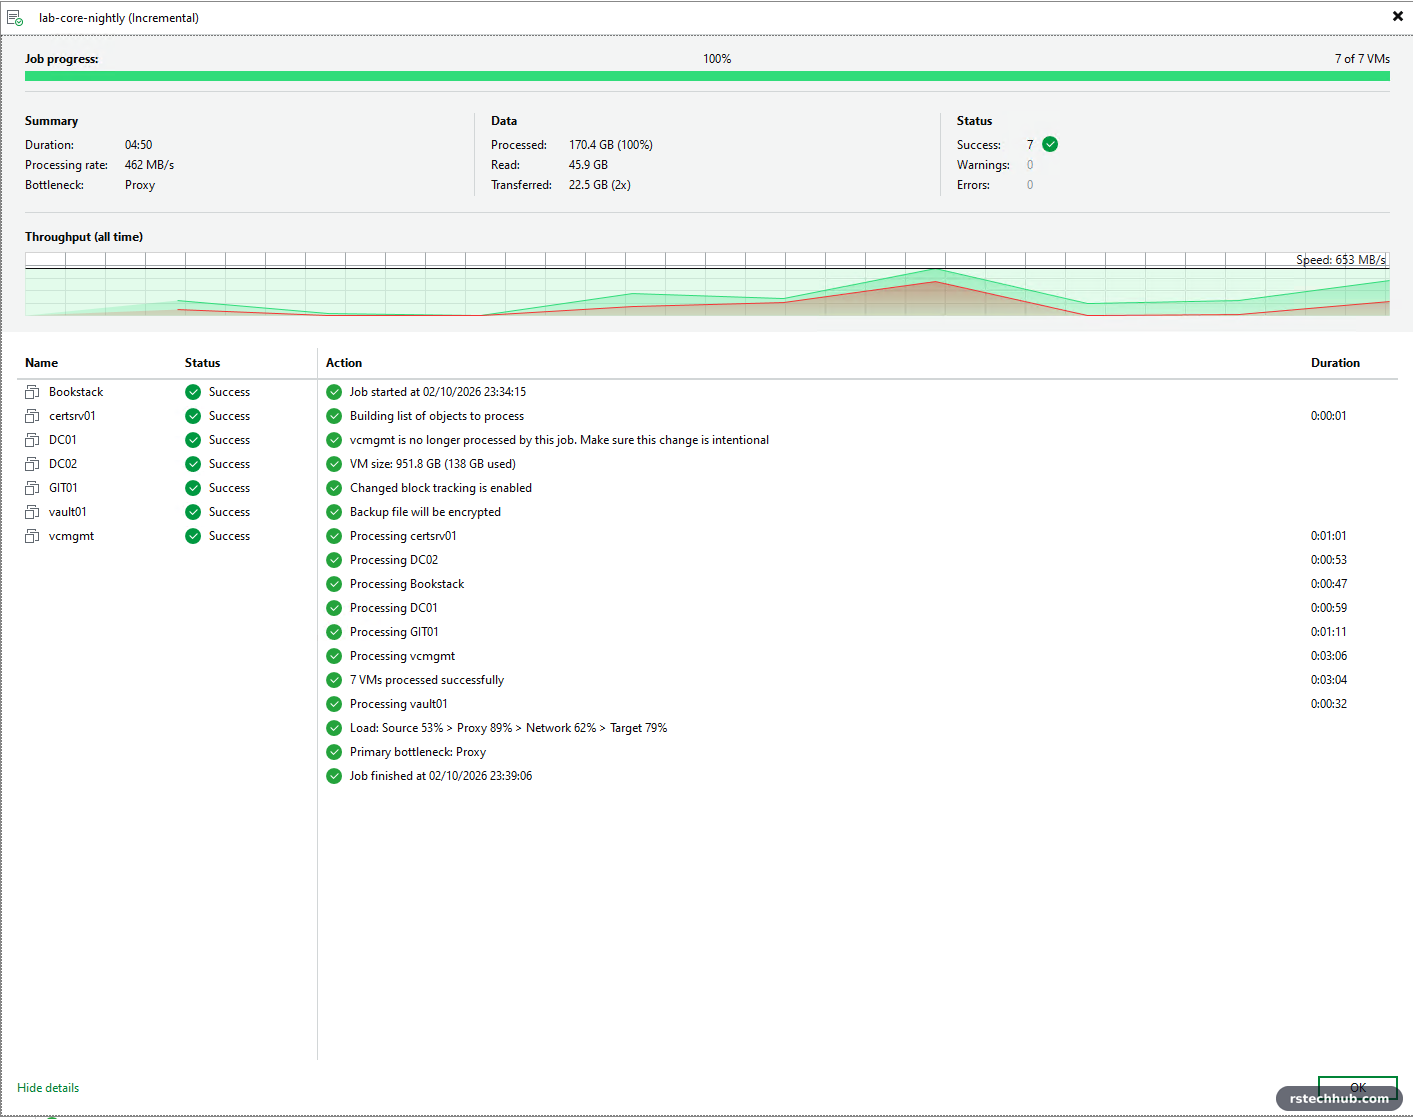
The 22:00 run had been skipped while the jobs were disabled, so I started the nightly job by hand at 23:34:
- lab-core-nightly: 7 of 7 VMs, success, 4 minutes 50 seconds at 462 MB/s, 22.5 GB transferred. The log line vcmgmt is no longer processed by this job refers to the old vCenter VM I swapped out after the vCenter restore test. The restored vCenter is a new VM to Veeam, so it took a full backup (3 minutes 6 seconds), which is why 22.5 GB went across instead of the usual few.
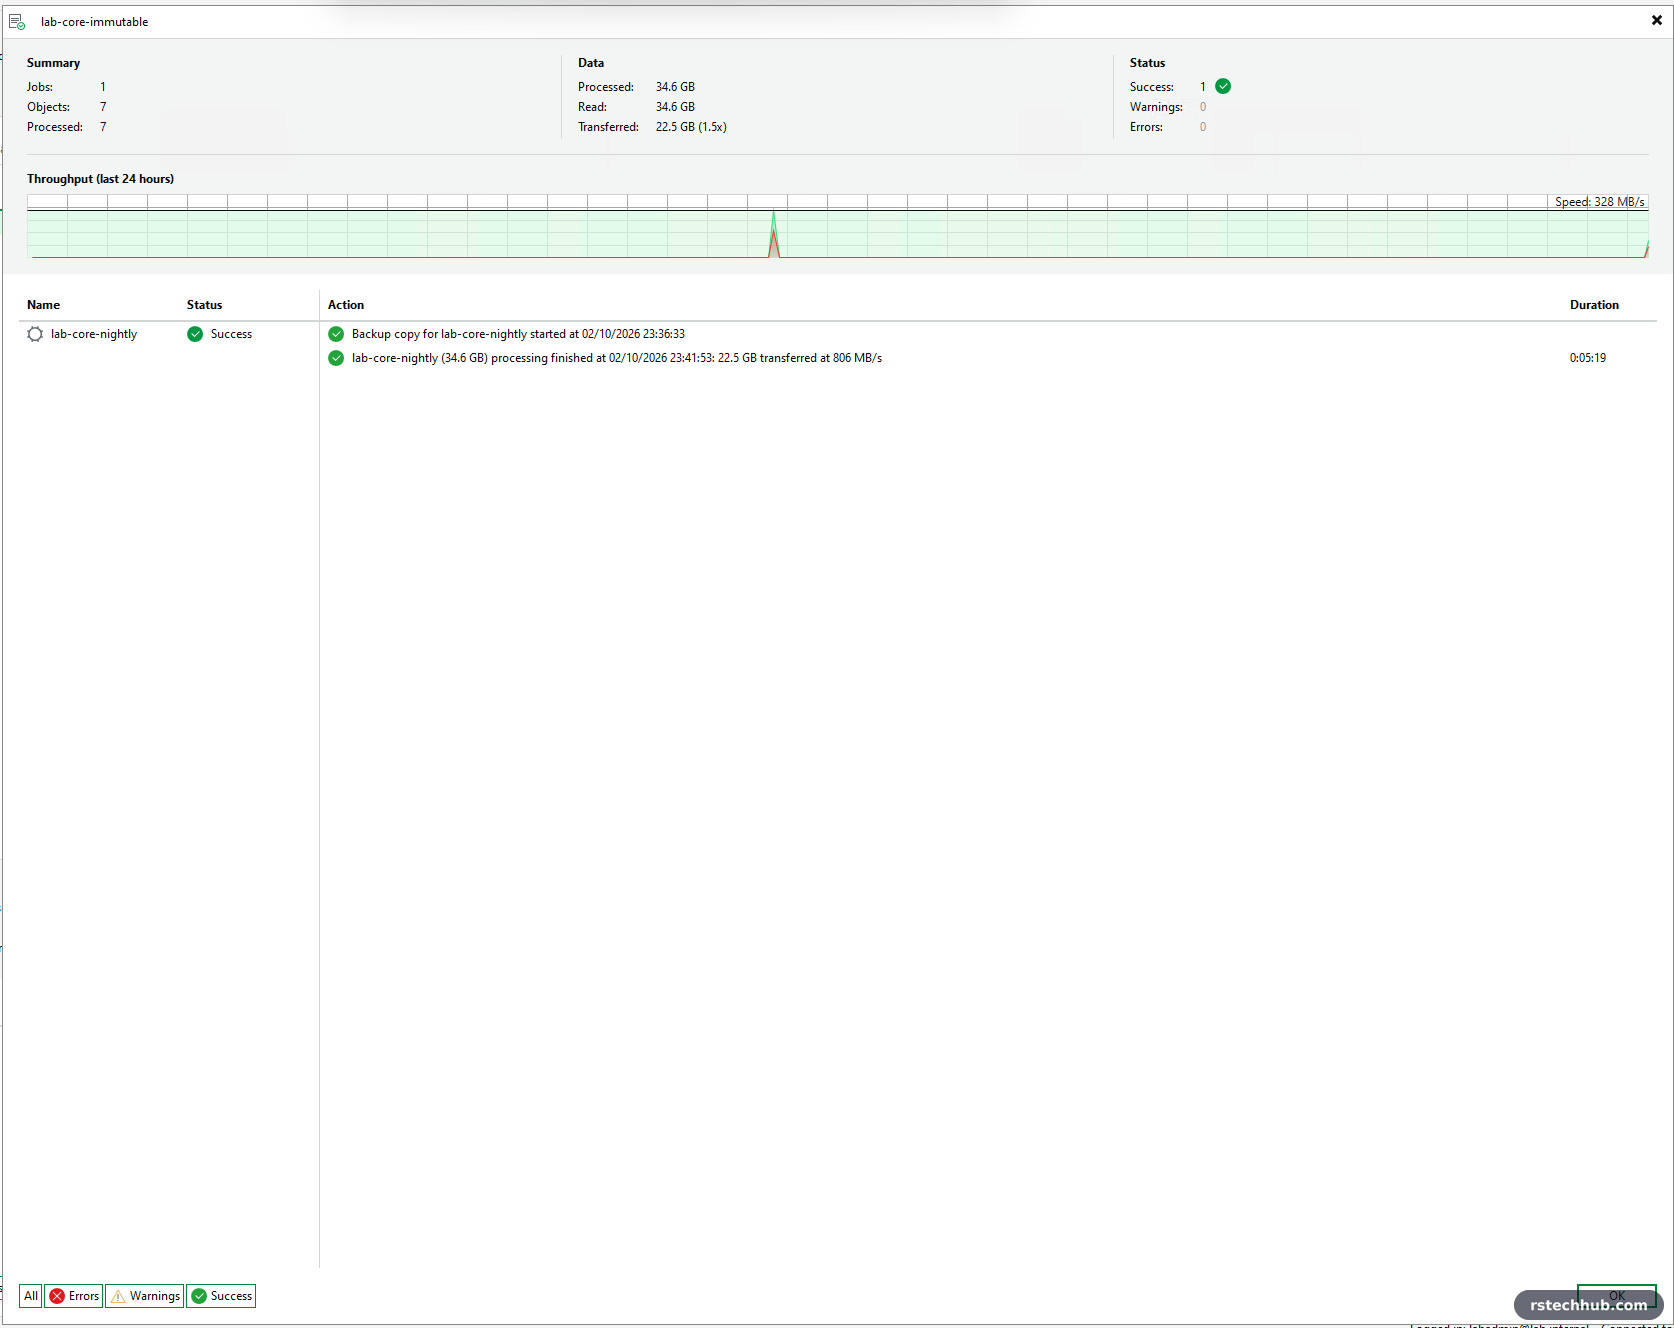
- lab-core-immutable: the copy to the hardened repository started on its own at 23:36, before the backup had even finished, and was done at 23:41. 34.6 GB processed, 22.5 GB transferred at 806 MB/s, success.
Why I kept the self-signed certificate
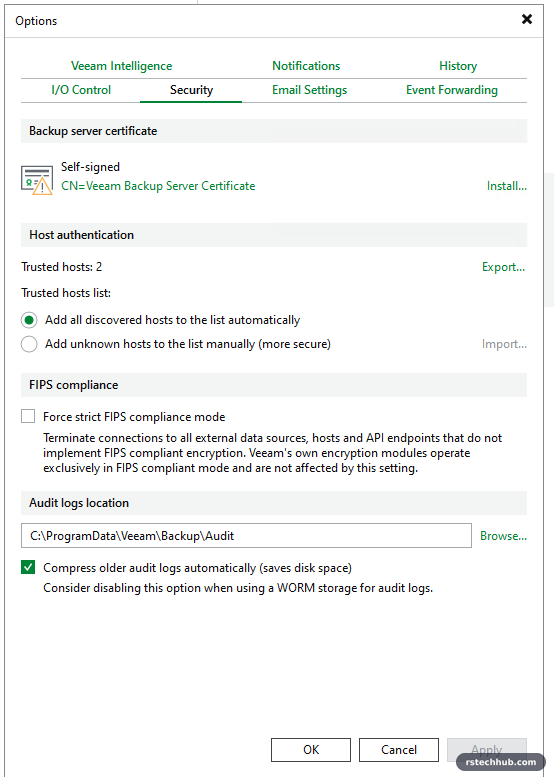
The morning after, I tried to replace the backup server’s self-signed certificate with one from my lab CA, as I did for vCenter and the iDRACs. I enrolled a Computer certificate for veeam01 from LAB-Root-CA in certlm.msc, then in the console went to ≡ → Options → Security → Backup server certificate → Install → Select an existing certificate from the certificate store.
Veeam refused it:
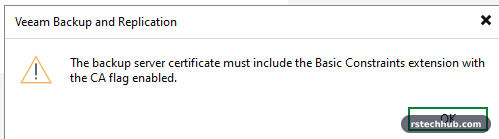
In v13 the backup server certificate is not just a TLS certificate. It is a small CA that issues child certificates to Veeam’s own components: every plug-in, worker and external infrastructure proxy. I counted around forty of those in the computer’s Personal store. Veeam KB4687 confirms that a CA-signed replacement must carry Basic Constraints with Subject Type = CA, so a normal server certificate cannot do the job.
The only way to meet that from my lab CA would be to give veeam01 a subordinate CA certificate. veeam01 could then issue certificates for any name that every machine in the lab trusts. On the backup server, of all machines, that is a poor trade for getting rid of one trust prompt in the console. So I kept Veeam’s self-signed certificate, which is its own CA for its own components and nothing else, cancelled the wizard and deleted the Computer certificate I had enrolled.
While I was on that Security tab I changed one thing that was worth it: Host authentication. It was set to Add all discovered hosts to the list automatically. My two Linux hosts were already trusted, so I switched it to Add unknown hosts to the list manually (more secure). A new Linux server now has to be approved by importing its fingerprint, instead of being trusted the first time it shows up.
Sources: Veeam KB4687, Veeam KB4817.
Still to do
- Delete the pre-upgrade snapshot on veeam01 after a couple of clean nightly runs.
- The new Veeam Software Appliance deserves a post of its own, as a fresh deployment.